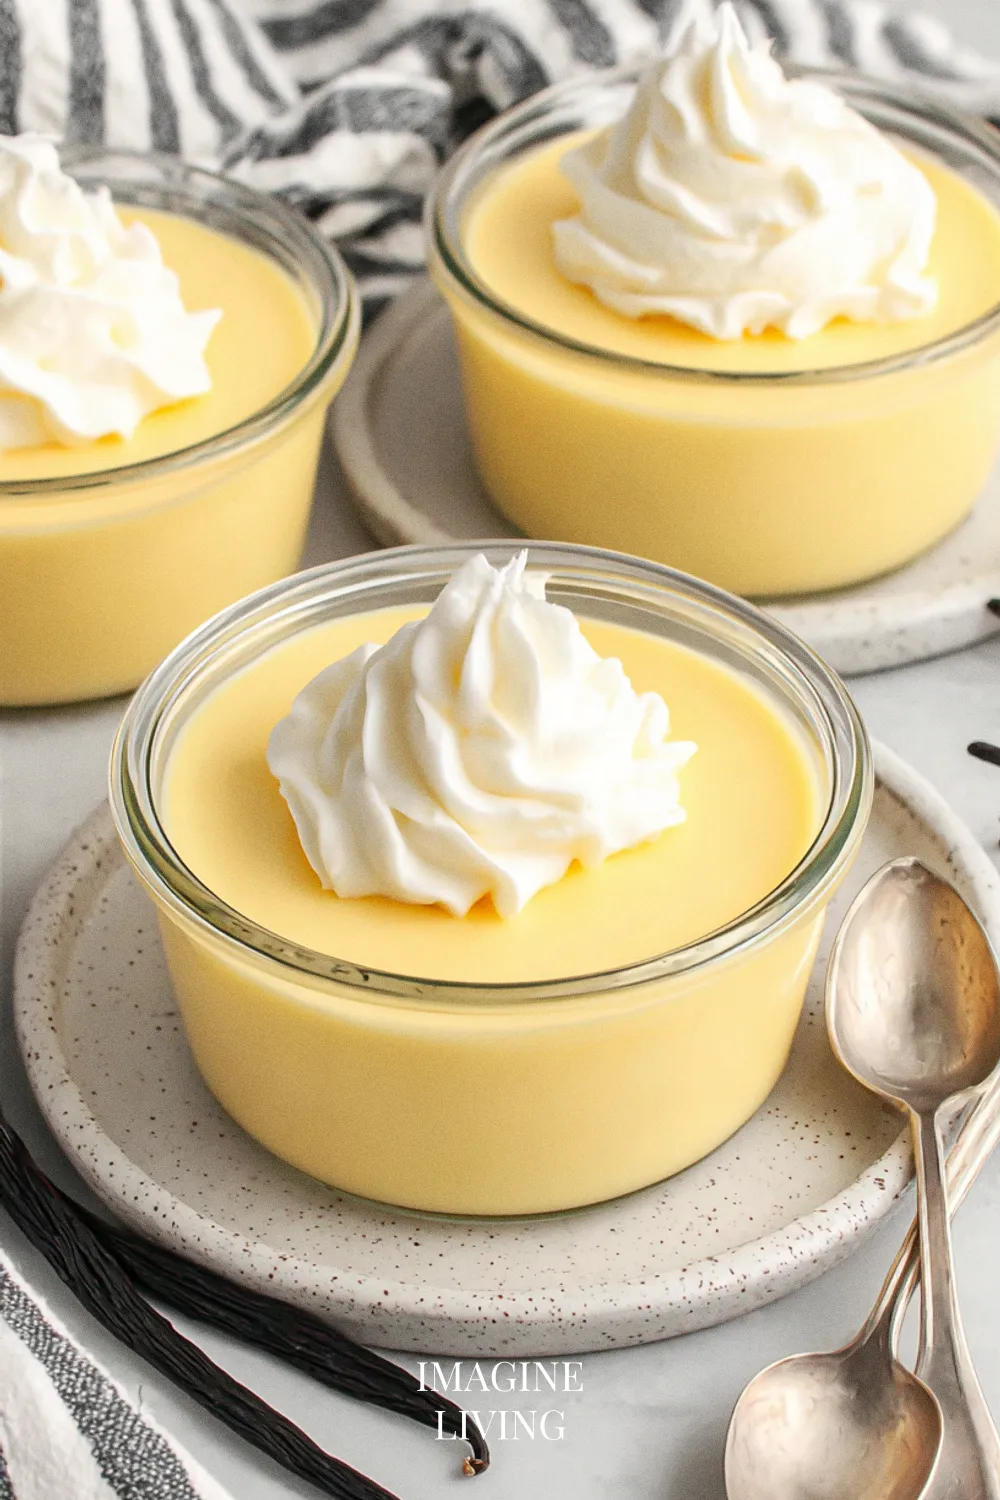
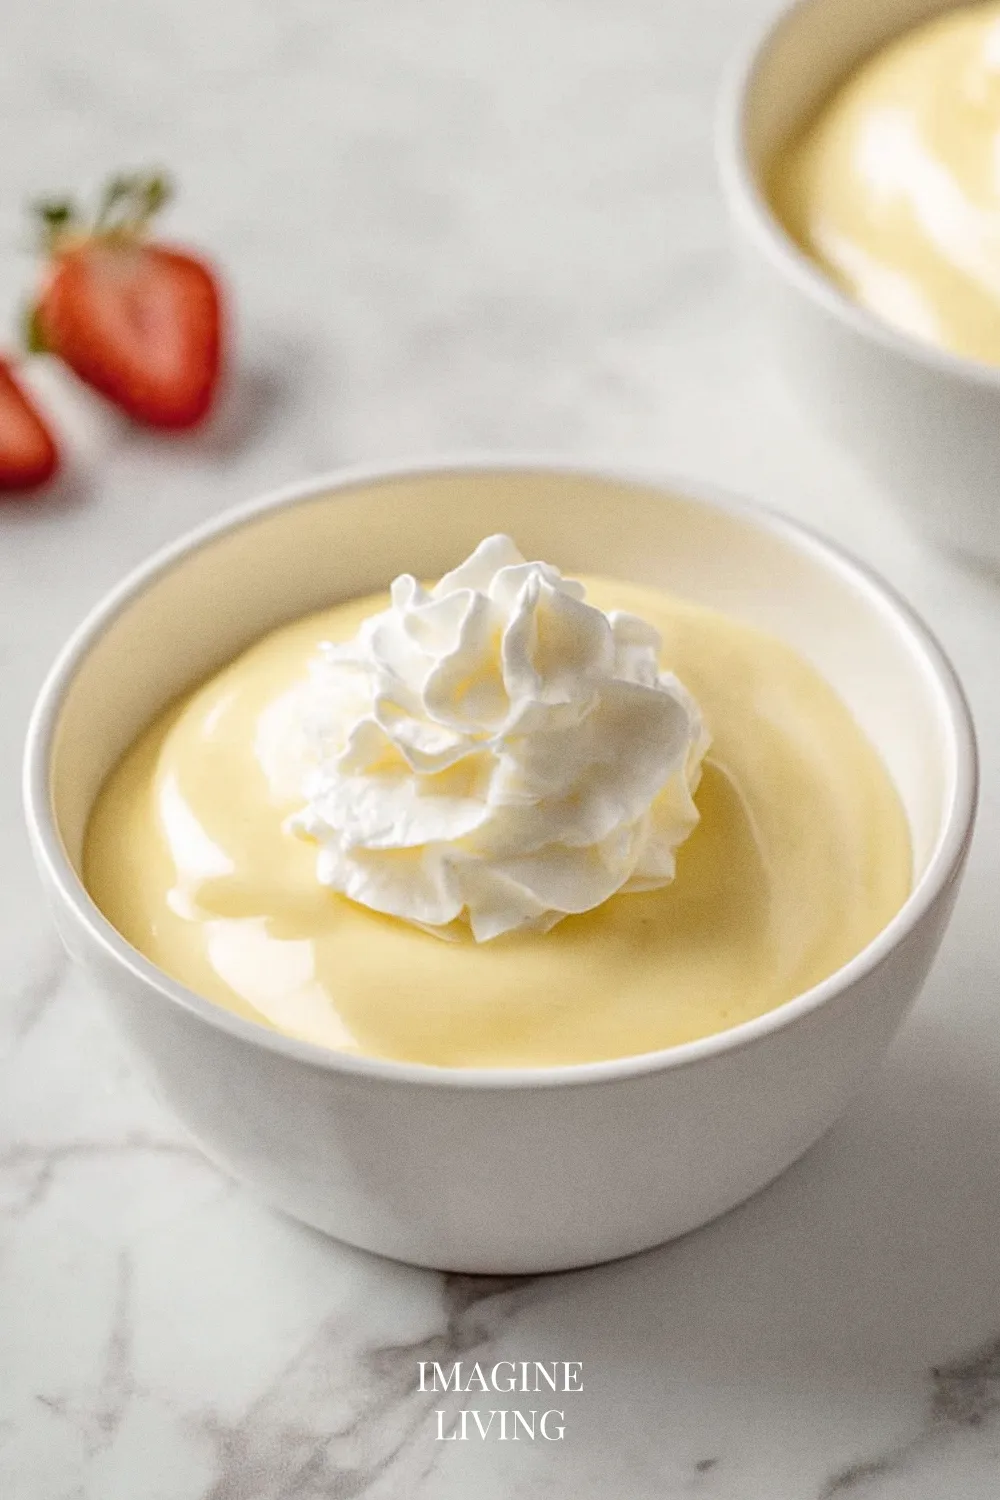
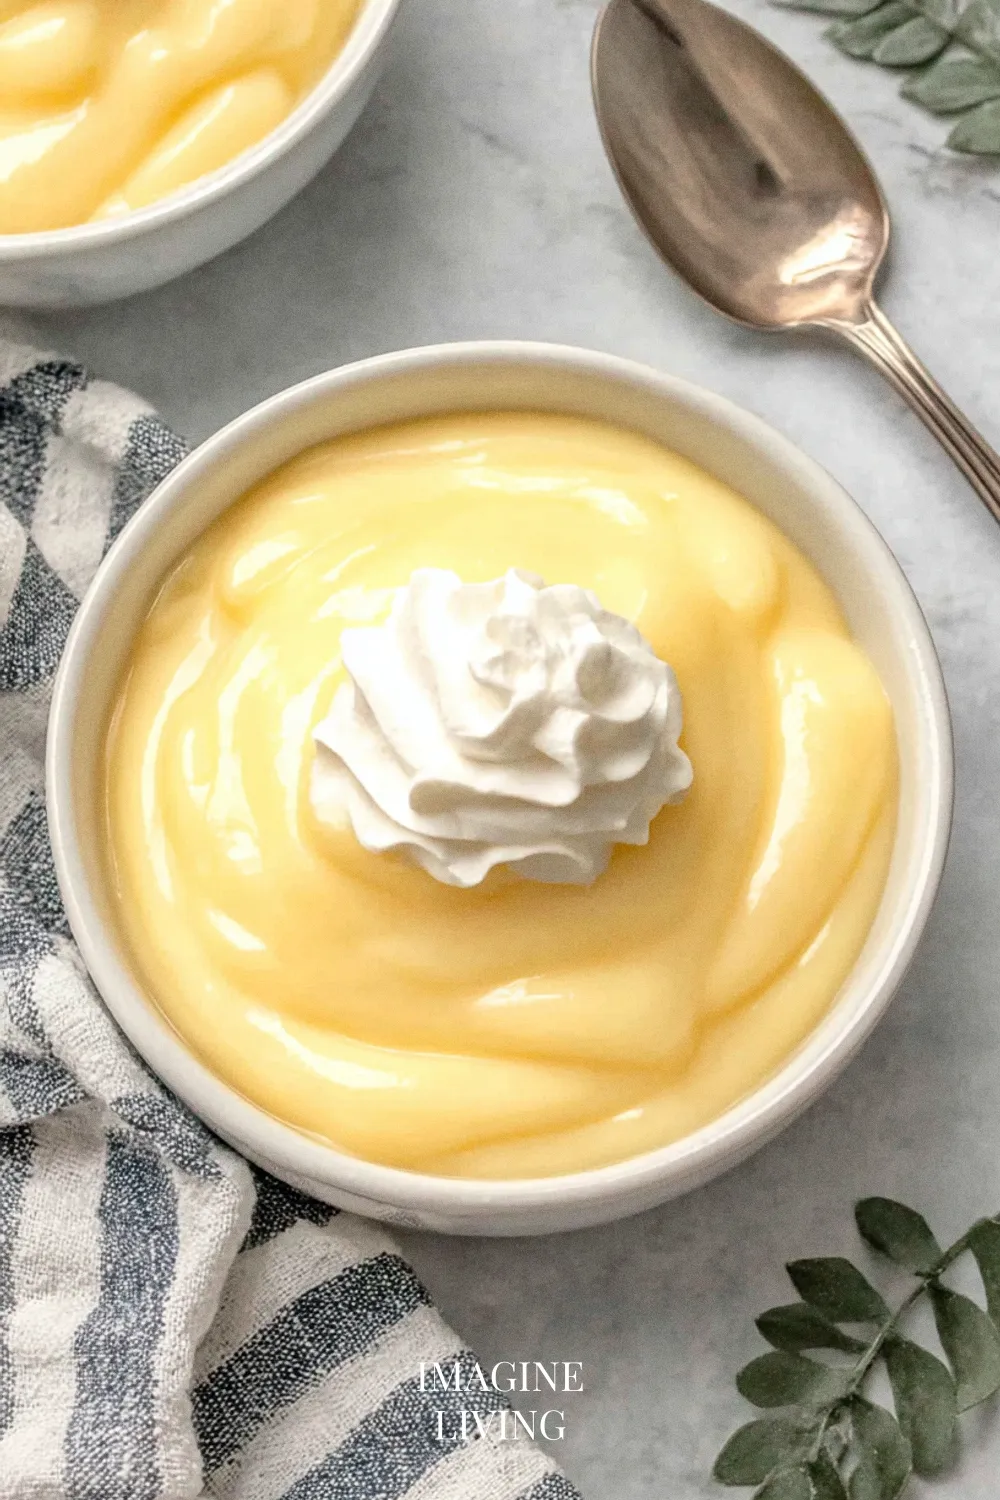
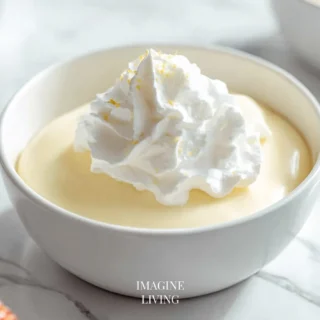
Creamy Homemade Vanilla Pudding
There’s a quiet pleasure in watching the scent of vanilla drift up from the saucepan—a small reminder that something good is on the way. I always like how this recipe settles the pace a little, giving you room to stir and breathe. And if pudding ever felt fussy, don’t worry; this one behaves. Even better, it comes together with a bit of gentle humor—vanilla may be called “plain,” but it certainly doesn’t act like it here.
Why You’ll Love This Recipe
This homemade vanilla pudding is an indulgent treat that balances simplicity with rich flavor. You’ll appreciate the ease of preparation and the satisfaction of crafting something so delightful.
- Quick and easy to prepare with minimal ingredients
- Perfect for pairing with fresh fruits or as a filler in pies
- Can be enjoyed warm or cold, catering to any preference
- Ideal for those looking for a classic dessert made from scratch
“Simple vanilla pudding for slow evenings and soft love.” M.
Ingredients: Classic Vanilla Pudding
Servings: 4
For the Pudding
- 2 cups (480 ml) whole milk
- 1/2 cup (100 g) granulated sugar
- 1/4 cup (30 g) cornstarch
- 1/4 tsp salt
- 2 tsp pure vanilla extract
- 2 tbsp (28 g) unsalted butter
Options: Consider using almond milk or coconut milk for a dairy-free variant.
Equipment Needed
- Medium saucepan
- Whisk
- Measuring cups and spoons
- Heatproof bowl
- Plastic wrap (optional)
Step-By-Step Guide: How to Make Vanilla Pudding
A pudding like this mostly asks for steady heat and a bit of patience, but truly, this part is easier than it looks.
Step 1: Combine Dry Ingredients
In a medium saucepan, whisk together the sugar, cornstarch, and salt until fully blended. The mixture should feel smooth between your fingers.
Tip: Make sure to break up any lumps in the cornstarch for a silky pudding.
Step 2: Add Milk
Gradually whisk in the whole milk, combining until the mixture is smooth. The cool milk will help mingle the dry ingredients nicely.
— The mixture always looks a little thin here; that’s exactly right.
Option note: If using almond milk, ensure it is unsweetened for optimal balance.
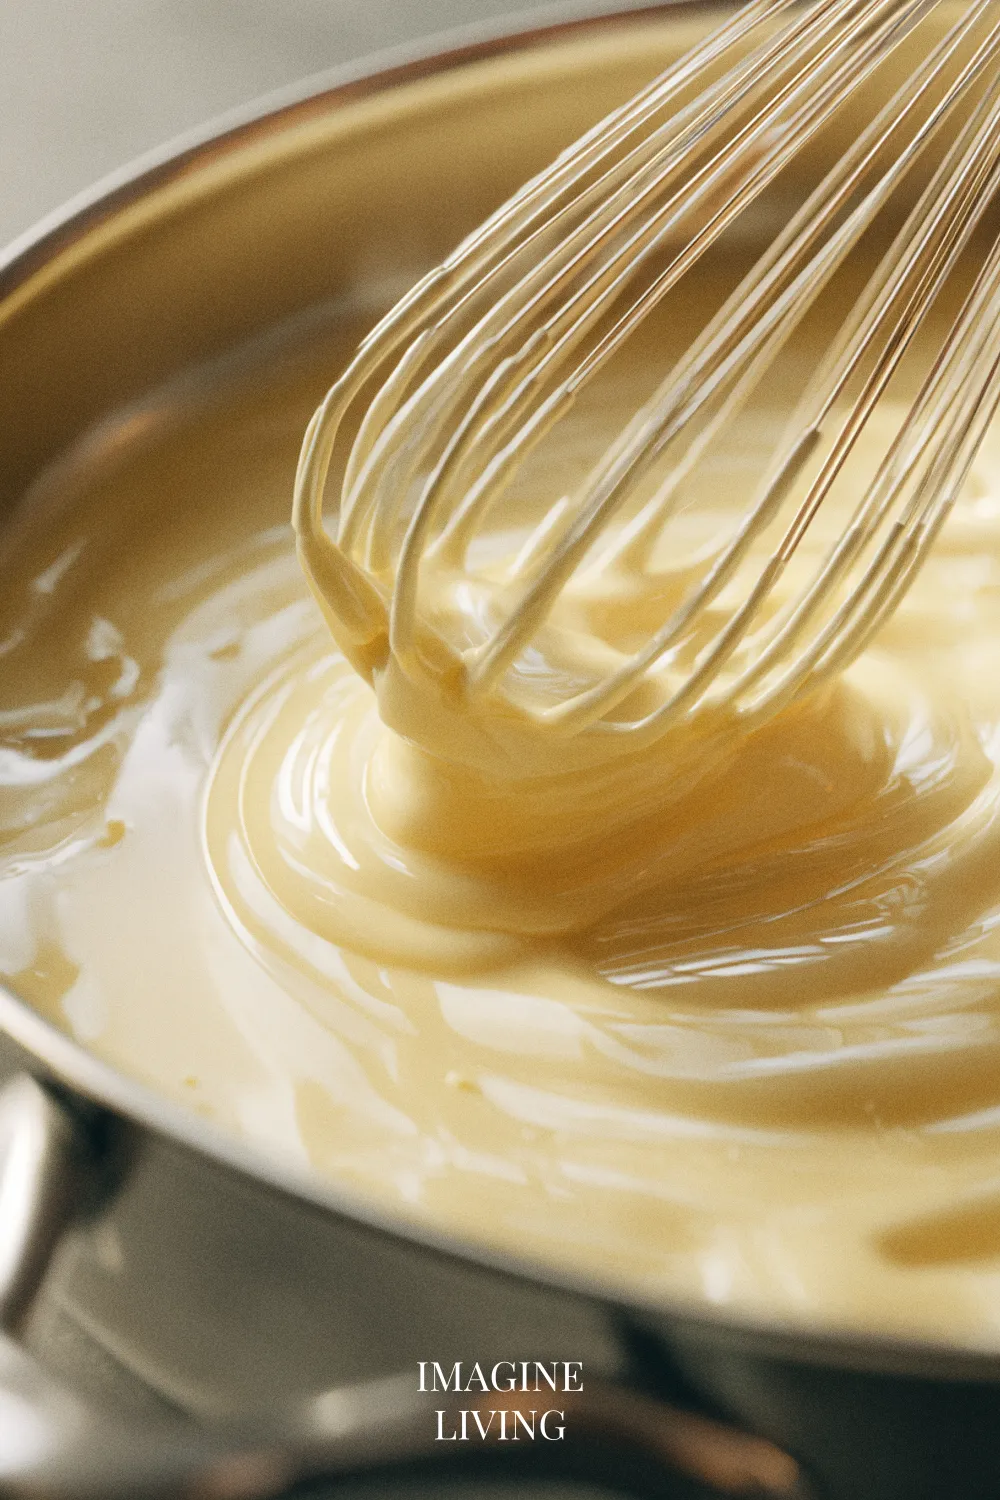
Step 3: Cook Over Medium Heat
Place the saucepan over medium heat. Stir constantly as the pudding begins to thicken. This will take about 5–10 minutes.
Tip: Watch closely to prevent sticking; the pudding should bubble gently.
— There’s a moment when it suddenly thickens, almost as if it decided to catch up all at once.
Step 4: Add Vanilla and Butter
Once your pudding has thickened, remove it from the heat and stir in the vanilla extract along with the butter. The butter will melt, adding richness and a glossy finish.
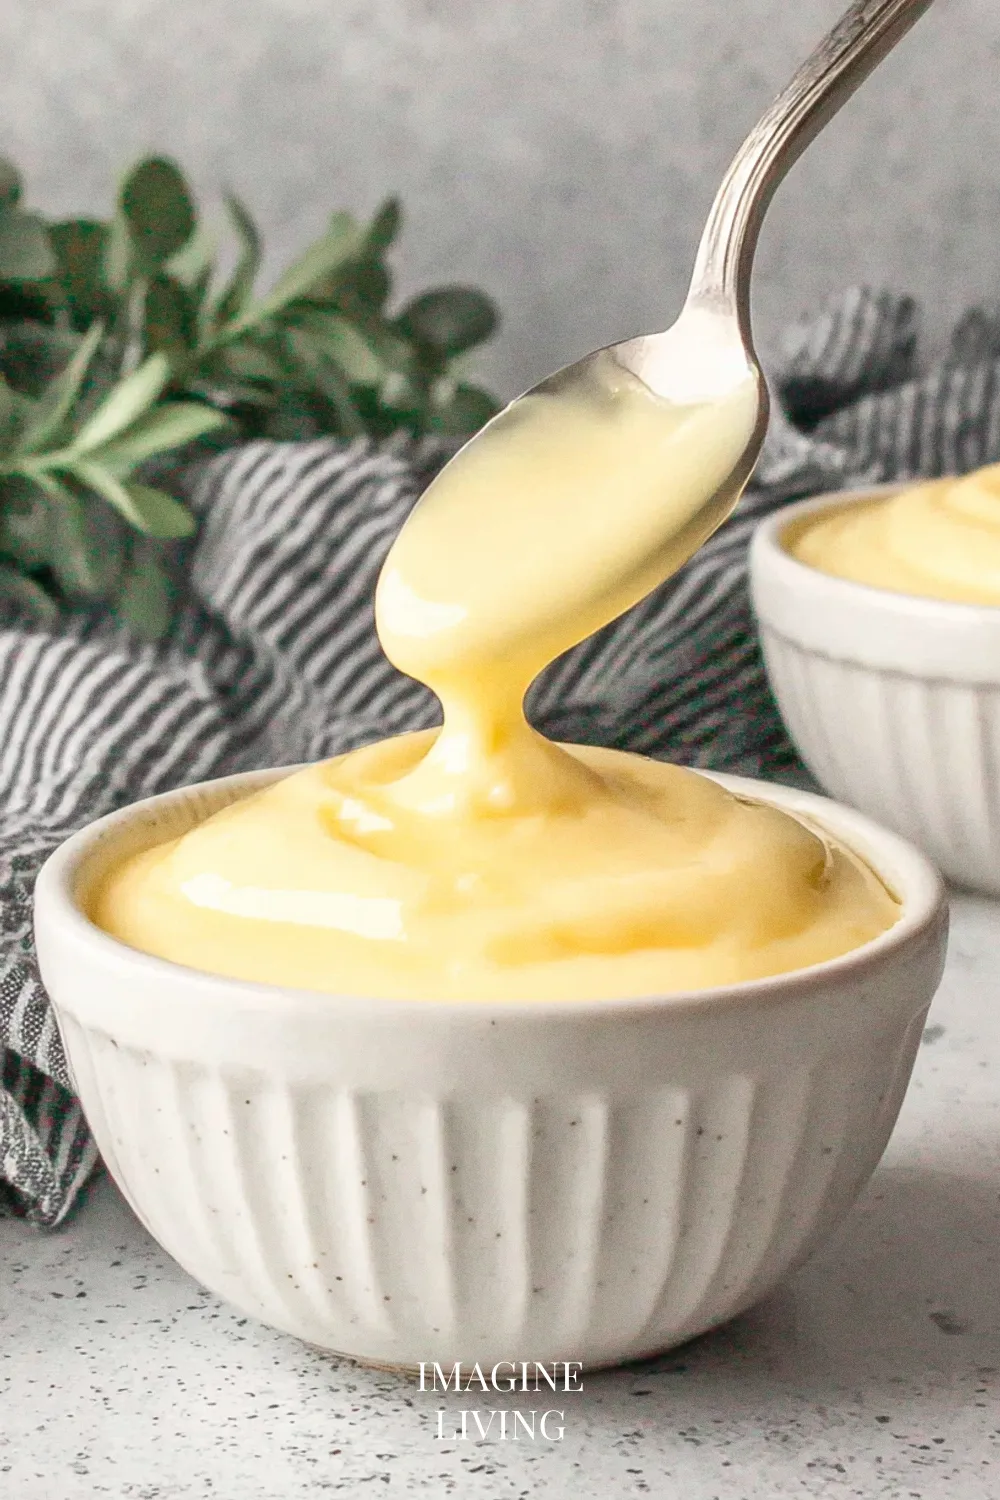
Step 5: Cool and Serve
Pour the pudding into a heatproof bowl or individual serving dishes. You can cover the top with plastic wrap to prevent a skin from forming while it cools. Refrigerate until set, about 2 hours.
“Cooking is like love; it should be entered into with abandon or not at all.” — Harriet Van Horne
This video is here as an extra source of inspiration! While it may not match this exact recipe, it offers helpful techniques, ideas, or visual guidance to enhance your cooking experience.
Pro Tips for Creamy Vanilla Pudding
A few small touches make the pudding feel especially smooth and steady.
- Use high-quality vanilla extract for maximum flavor.
- For a silkier texture, consider straining your pudding through a fine mesh sieve before chilling.
- Always remember to whisk consistently while cooking.
- Serve warm for a comforting dessert or cold for a refreshing treat.
- Adjust the sugar based on your sweetness preference.
— And if it thickens a little more than expected, that’s nothing a splash of milk can’t soften.
Dietary Variations & Substitutions
Gluten-Free Version
- Use cornstarch 1:1 in place of any thickening agents that contain gluten.
- Ensure the vanilla extract and sugar are pure and free of gluten additives.
- No adjustments needed for cooking time or technique.
Tip: Always check labels to ensure no cross-contamination with gluten in commercially prepared ingredients.
Dairy-Free Version
- Substitute whole milk with 2 cups of unsweetened almond milk, coconut milk, or another plant-based milk.
- Use vegan butter or coconut oil in place of unsalted butter (same amount).
- There may be a slightly different texture, so whisk gently to maintain creaminess.
Tip: Ensure your plant-based milk is unsweetened for best flavor balance.
Vegan Version
- Replace each tablespoon of butter with a tablespoon of coconut oil or vegan butter for a fully plant-based option.
- Use the dairy-free milk alternatives listed above.
- Maintain the same cooking time and method, but ensure you stir consistently to achieve desired creaminess.
Tip: Adding a tablespoon of maple syrup can enhance sweetness without using refined sugar.
Egg-Free Version
- This recipe is naturally egg-free but ensure any flavors or additional ingredients added are egg-free as well.
- No additional substitutions needed for the pudding as it’s already designed without eggs.
Tip: If using flavorings, check for egg-based emulsifiers in processed items.
Low-Sugar Version
- Reduce granulated sugar by 25% and replace with a sugar alternative like erythritol or monk fruit 1:1.
- Consider enhancing the flavor by increasing vanilla extract to 2 1/2 teaspoons.
- Monitor the cooking process as lower sugar options may behave differently; mix well to avoid separation.
Tip: Taste the pudding before cooling to adjust sweetness to your liking.
High-Protein Version
- Swap whole milk for a protein-enriched milk, such as soy milk or protein-fortified almond milk, using the same amount.
- You might add a tablespoon of protein powder to the mix, dissolving it in the milk before heating for an additional protein boost.
- No changes to cooking time or method are needed.
Tip: Ensure the increased protein doesn’t alter the sweetness, adjusting other ingredients as necessary.
Creative Variations: Unique Takes on Vanilla Pudding
Chocolate Vanilla Pudding
Blend in 2 tablespoons of cocoa powder for a rich chocolate twist.
Tip: This version pairs beautifully with whipped cream.
Coconut Vanilla Pudding
Substitute half the milk with coconut milk for a tropical flair.
Tip: Toasted coconut flakes on top enhance the texture and flavor.
Cinnamon Vanilla Pudding
Add 1/2 teaspoon of ground cinnamon for a warm, spicy note.
Tip: Serve with caramelized apples for a delightful dessert.
Coffee Vanilla Pudding
Mix in 1 tablespoon of instant coffee granules for an energizing kick.
Tip: A dollop of whipped cream makes this dessert even dreamier.
Lemon Vanilla Pudding
Stir in 1 tablespoon of lemon zest for a bright, refreshing taste.
Tip: This pudding is a perfect palate cleanser after a rich meal.
“Good food is the foundation of genuine happiness.” — Auguste Escoffier
Serving Suggestions
Pair your vanilla pudding with fresh berries, a sprinkle of cinnamon, or layers of graham crackers for a delightful parfait. A scoop of vanilla ice cream or a drizzle of chocolate sauce can elevate the experience, making it a showstopper dessert.
Storage and Reheating
Store the pudding in an airtight container in the refrigerator for up to 5 days. Reheat gently on the stovetop, whisking continuously to avoid curdling. Add a splash of milk to achieve the desired consistency if needed.
Common Mistakes to Avoid
A few things can nudge pudding off track, but each one has an easy fix.
Not Whisking Constantly
Failing to whisk can cause the pudding to burn at the bottom.
Tip: Dedicate a steady hand and a bit of patience for the best results.
Using Low-Fat Milk
Using lower-fat milk can result in a thinner pudding.
Tip: Whole milk creates creaminess; consider experimenting with half-and-half for a richer dessert.
Adding Vanilla Too Early
Adding vanilla before cooking can diminish its flavor.
Tip: Always add vanilla after the pudding has thickened.
Skipping Straining
Not straining can lead to lumps in the pudding.
Tip: Straining gives your pudding a flawless, silky finish.
Underestimating Cooling Time
Rushing the cooling process can lead to a runny pudding.
Tip: Allow ample time for the pudding to fully set in the refrigerator.
FAQs
How long does homemade vanilla pudding last?
Homemade vanilla pudding can be stored for up to 5 days in the refrigerator.
Can I freeze vanilla pudding?
Freezing is not recommended, as it can change the texture. However, if you do freeze it, make sure to thaw it slowly in the refrigerator.
Can I make vanilla pudding dairy-free?
Yes! Substitute whole milk with almond milk, coconut milk, or any non-dairy alternative.
How can I make my pudding thicker?
If your pudding is too thin, return it to the heat and whisk in a bit more cornstarch dissolved in cold water.
Can I flavor vanilla pudding with something else?
Absolutely! You can add various extracts like almond or citrus zest for different flavors.
Simple Pleasures and Sweet Delights
A bowl of homemade pudding has a way of grounding the moment, nothing dramatic—just a quiet reward for a few minutes at the stove. Serve it however you like, and enjoy how easily it fits into the day.
Creamy Homemade Vanilla Pudding
Equipment
- Medium saucepan
- Whisk
- Measuring cups and spoons
- Heatproof bowl
- Plastic wrap (optional)
Ingredients
For the Pudding
- 2 cups whole milk
- 1/2 cup granulated sugar
- 1/4 cup cornstarch
- 1/4 tsp salt
- 2 tsp pure vanilla extract
- 2 tbsp unsalted butter
Instructions
Step 1: Combine Dry Ingredients
- In a medium saucepan, whisk together the sugar, cornstarch, and salt until fully blended. The mixture should feel smooth between your fingers.
- Tip: Make sure to break up any lumps in the cornstarch for a silky pudding.
Step 2: Add Milk
- Gradually whisk in the whole milk, combining until the mixture is smooth. The cool milk will help mingle the dry ingredients nicely.
Step 3: Cook Over Medium Heat
- Place the saucepan over medium heat. Stir constantly as the pudding begins to thicken. This will take about 5–10 minutes.
- Tip: Watch closely to prevent sticking; the pudding should bubble gently.
Step 4: Add Vanilla and Butter
- Once your pudding has thickened, remove it from the heat and stir in the vanilla extract along with the butter. The butter will melt, adding richness and a glossy finish.
Step 5: Cool and Serve
- Pour the pudding into a heatproof bowl or individual serving dishes. You can cover the top with plastic wrap to prevent a skin from forming while it cools. Refrigerate until set, about 2 hours.
Notes
- Use high-quality vanilla extract for maximum flavor.
- For a silkier texture, consider straining your pudding through a fine mesh sieve before chilling.
- Always remember to whisk consistently while cooking.
- Serve warm for a comforting dessert or cold for a refreshing treat.
- Adjust the sugar based on your sweetness preference.