Roasted Red Pepper BBQ Dip
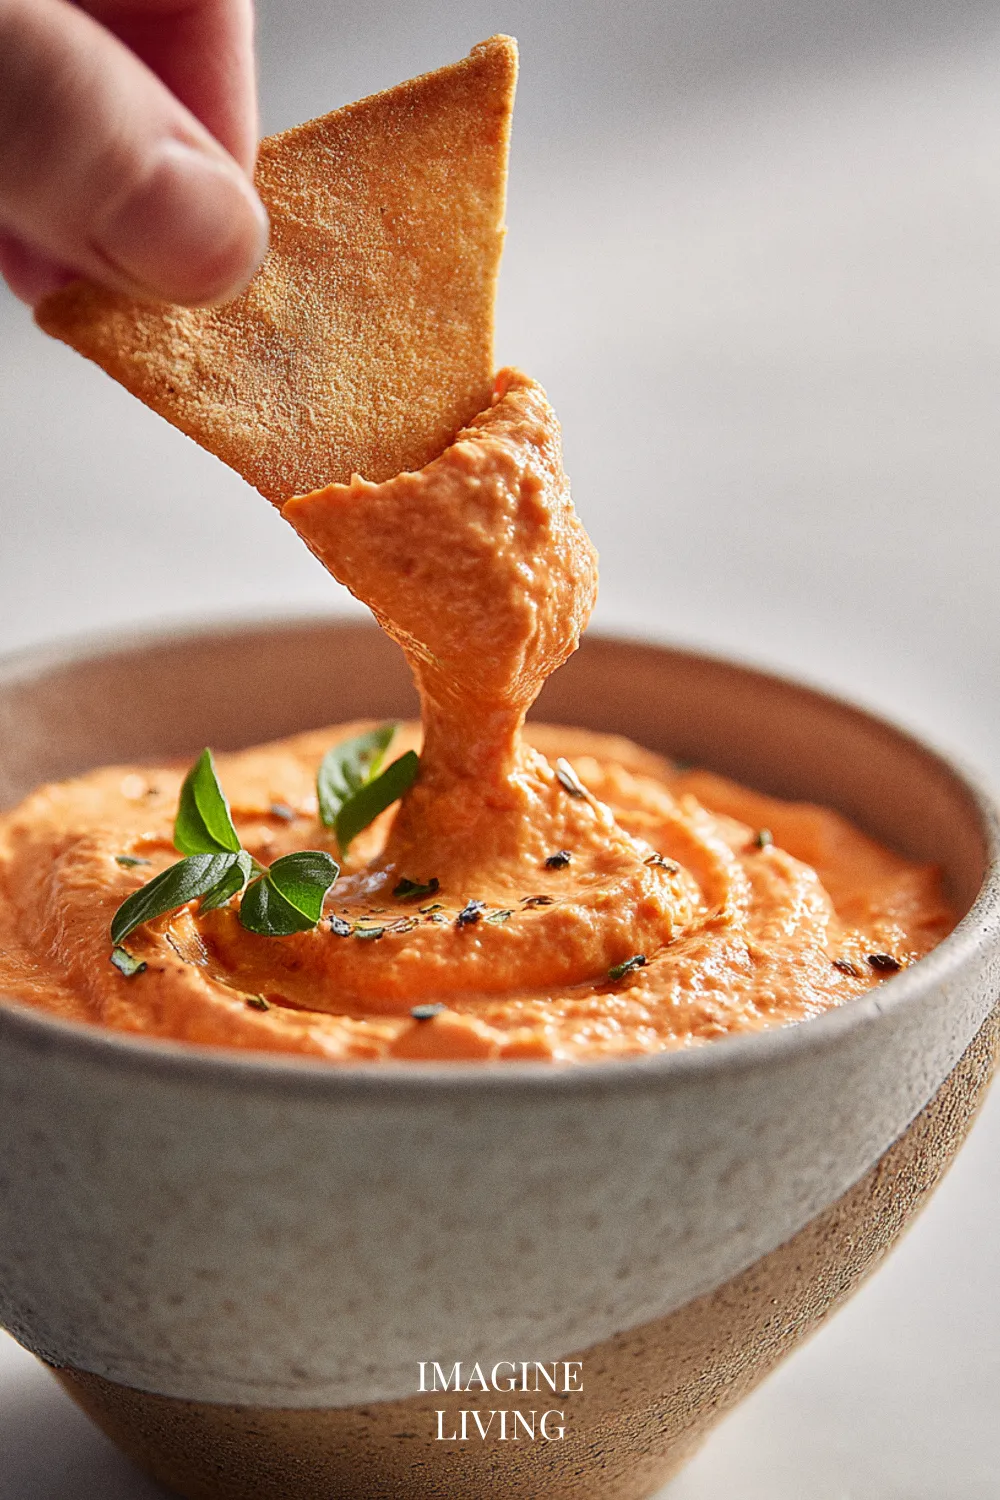
This Roasted Red Pepper BBQ Dip comes together with that soft smokiness you notice the moment the peppers hit the bowl. As you mix, there’s this quiet shift when everything starts to look like it belongs together — always a good sign. It’s an easy dip to trust, and it doesn’t mind if you taste along the way. And honestly, any recipe that turns this color feels like it’s in a good mood.
Why You’ll Love This Recipe
This BBQ dip has everything you need to impress your guests while keeping it simple. It’s fast, flavorful, and can be whipped up in no time. Plus, the creamy texture pairs perfectly with crunchy snacks or fresh veggies.
- Perfect for game day or movie nights
- Great for making ahead of time for stress-free entertaining
- Easily customizable to suit your taste preferences
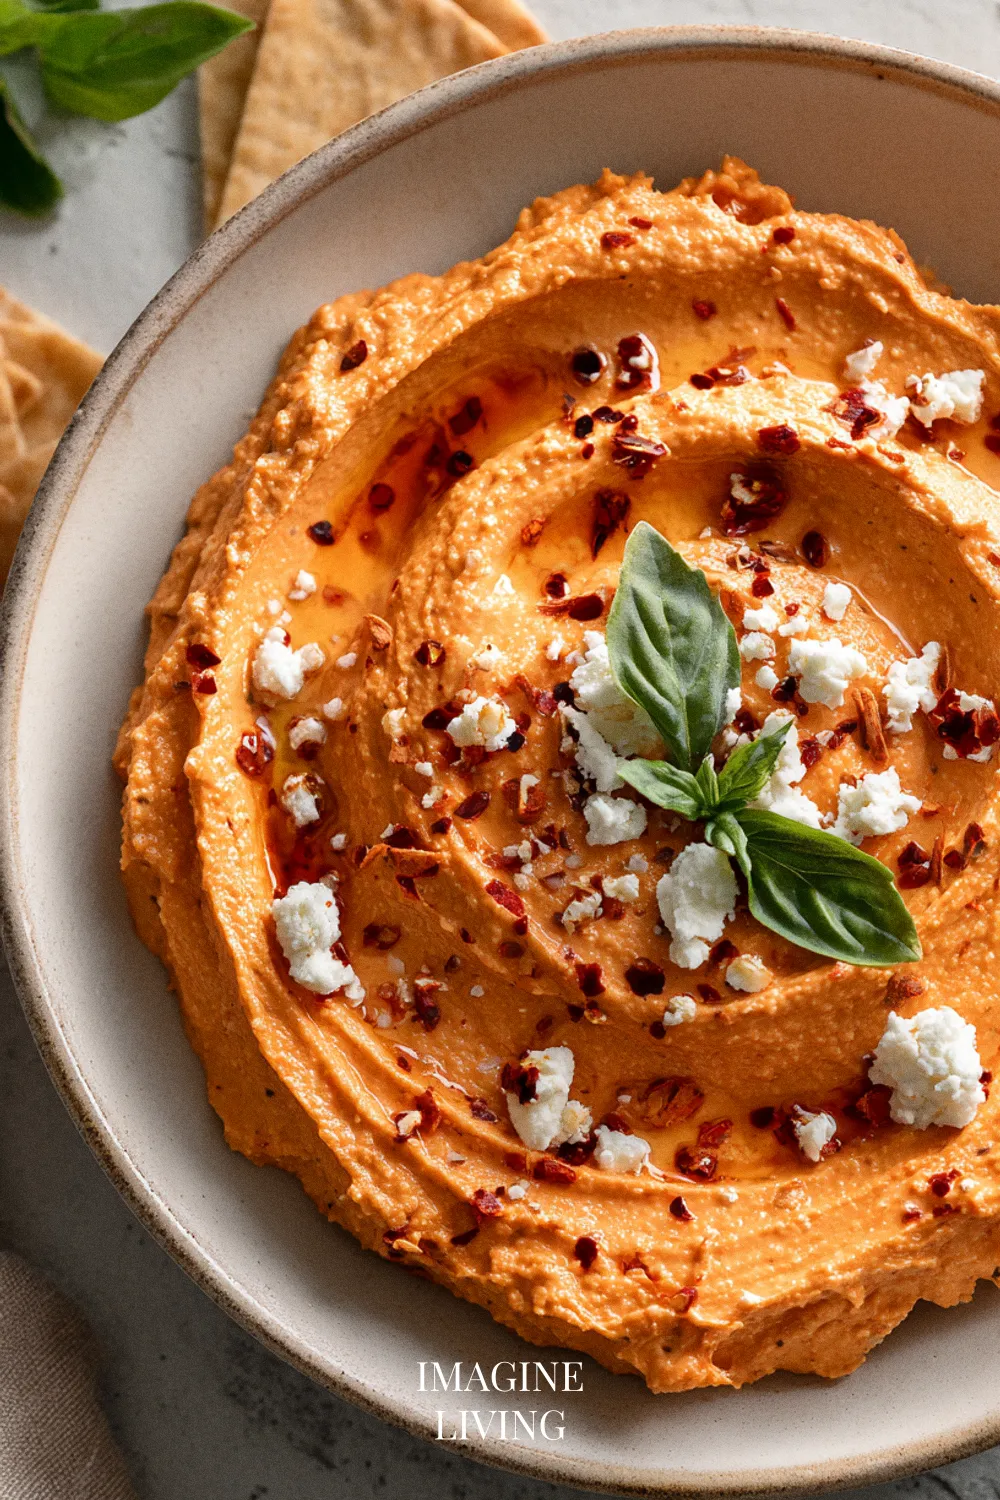
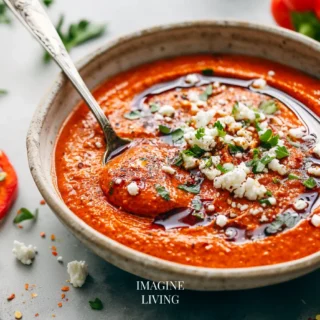
“Sweet-smoky BBQ dip made for chips, veggies, and sandwiches.” Imagine Living

Ingredients: Roasted Red Pepper BBQ Dip (Serves 6)
For the Dip
- 1 cup roasted red peppers, drained (about 280 g)
- 1 cup cream cheese, softened (240g)
- ½ cup sour cream (120g)
- ¼ cup BBQ sauce (60ml)
- 1 teaspoon garlic powder
- ½ teaspoon smoked paprika
- Salt and pepper to taste
Options: Consider using dairy-free cream cheese for a plant-based alternative.
Equipment Needed
- Mixing bowl
- Blender
- Spatula
- Serving dish

Step-By-Step Guide: How to Make Roasted Red Pepper BBQ Dip
A quick mix, a little color, and a short chill — the rhythm here is simple, and the dip practically comes together on its own. The only real challenge is keeping yourself from eating it straight out of the bowl. This part is easier than it looks.
Step 1: Prepare the Base
Add softened cream cheese and sour cream to a blender/food processor. Blend until creamy and fully smooth, scraping down the sides as needed.
Tip: If it struggles to move, add 1–2 tbsp milk (or a small splash of pepper liquid) to get it going. to sit at room temperature for easier mixing.
Step 2: Incorporate the Flavors
Add roasted red peppers, BBQ sauce, garlic powder, smoked paprika, salt, and pepper. Blend again until silky smooth and evenly colored.
Tip: Taste, then adjust—more BBQ for sweetness, more paprika for smoke, more salt to sharpen.
Step 3: Chill and Serve
Pour into a serving dish and chill at least 30 minutes to thicken and let the flavors settle.
Tip: For the smoothest texture, chill it, then give it one quick stir before serving. time to save time on party day!
“Food is symbolic of love when words are inadequate.” Alan D. Wolfelt
Pro Tips for Roasted Red Pepper BBQ Dip
A few small choices can make the bowl even better, and none of them take extra effort.
- Use store-bought roasted red peppers for speed, or roast your own for a fresher taste.
- Pair with an array of dippers like fresh vegetables, tortilla chips, or toasted baguette slices.
- Consider adding more spices if you enjoy a kick; cayenne pepper adds a lovely heat.
- This dip can be served warm or cold, depending on your preference.
One note: warm versions tend to disappear a little faster.
Dietary Variations & Substitutions
Dairy-Free Version
- Substitute cream cheese with an equal amount of dairy-free cream cheese.
- Replace sour cream 1:1 with dairy-free sour cream or use a thick non-dairy yogurt.
- Ensure BBQ sauce is dairy-free; check labels for hidden dairy ingredients.
Tip: Blend the dip a little longer to achieve a creamy texture with dairy-free alternatives.
Vegan Version
- Use dairy-free cream cheese and replace sour cream with plant-based yogurt.
- Ensure the BBQ sauce is vegan-friendly; opt for a version without honey.
- You can also add nutritional yeast (1-2 tablespoons) for an extra cheesy flavor.
Tip: Mix in a teaspoon of lemon juice for an added zing.
Gluten-Free Version
- Check that the BBQ sauce is gluten-free as some brands may contain gluten.
- Serve with gluten-free dippers like fresh veggies or gluten-free chips.
- If making homemade BBQ sauce, ensure all ingredients used are gluten-free.
Tip: Use a dedicated cutting board and utensils if cross-contamination is a concern.
Low-Sugar Version
- Choose a low-sugar BBQ sauce or make your own using sugar substitutes.
- Reduce the amount of BBQ sauce by 25% and add extra roasted peppers for flavor.
- Enhance flavors with additional garlic powder or smoked paprika to compensate for less sweetness.
Tip: Adding a pinch of smoked salt can enhance the overall flavor profile.
High-Protein Version
- Replace sour cream with Greek yogurt for a higher protein content.
- Incorporate 1/4 cup finely chopped cooked chickpeas for added protein and texture.
- Consider adding hemp seeds or nutritional yeast to boost protein levels without altering flavor.
Tip: Choose plain Greek yogurt to avoid added sugars.
Nut-Free Version
- Ensure cream cheese, sour cream, and BBQ sauce do not contain nut-derived ingredients (some sauces can be processed with nuts).
- Pair with a variety of nut-free dippers such as fresh vegetables or pretzels.
- Always check labels to avoid cross-contamination with nuts.
Tip: When serving at events, label the dip to inform guests of allergies.
Creative Variations: Fun Dips to Try
Spicy Roasted Red Pepper BBQ Dip
Add a teaspoon of hot sauce to kick up the heat.
Tip: Adjust the hot sauce according to your spice tolerance.
Herb-Infused BBQ Dip
Mix in fresh herbs like parsley or basil for a refreshing twist.
Tip: Chopped green onions can also add a nice crunch and flavor.
Cheesy BBQ Dip
Incorporate ½ cup of shredded cheese, such as cheddar or mozzarella, for extra creaminess.
Tip: For a gooey texture, warm the dip before serving.
Greek Yogurt BBQ Dip
Substitute sour cream with Greek yogurt for a tangy and healthier option.
Tip: This variation also adds extra protein to your dip.
Avocado BBQ Dip
Add ripe, mashed avocados for a creamy texture and a unique flavor profile.
Tip: Drizzle with lime juice to maintain the vibrant green color.
“Eat food, not much, mostly plants.” Michael Pollan
Serving Suggestions
- Pair with vegetable platters including carrots, cucumbers, and bell peppers.
- Serve alongside crispy tortilla chips or pita bread for a crunchy contrast.
- Offer a selection of breads, like crusty baguette slices or soft pretzels.
Storage and Reheating
Store any leftover dip in an airtight container in the refrigerator for up to 3 days. To reheat, warm gently in the microwave or on the stovetop over low heat, stirring frequently to prevent separation.
Common Mistakes to Avoid
It’s a simple dip, but a couple of small things can shift the texture or flavor — nothing dramatic, and all easy to fix.
Not Softening Cream Cheese
Using cold cream cheese will make it difficult to blend smoothly.
Tip: Always soften it at room temperature before mixing.
Overmixing the Ingredients
Overmixing can lead to a watery dip. Mix just until combined.
Tip: Stop mixing once the textures blend nicely.
Serving Too Warm or Too Cold
Serve at room temperature for the best flavor profile; chilling enhances flavors, but don’t serve it ice-cold.
Tip: Let it sit out for about 15 minutes before serving.
Skimping on Seasoning
Taste as you go; every brand of BBQ sauce varies in sweetness and saltiness.
Tip: Don’t hesitate to add more spices as needed.
Forgetting to Chill
Chilling lets flavors marry, enhancing the overall taste.
Tip: Make it ahead of time and chill for a few hours for best flavor.
FAQs
Can I make this dip ahead of time?
Yes, it actually gets better as it chills and the flavors meld.
Can I use homemade roasted peppers?
Absolutely! Roasting your own peppers can enhance the flavor even more.
How long does this dip last?
In the fridge, it will typically stay fresh for up to 3 days.
Can I freeze the dip?
Freezing is not recommended as it can change the texture upon thawing.
What can I serve with this dip?
Anything from veggies and chips to breadsticks or crackers works well.
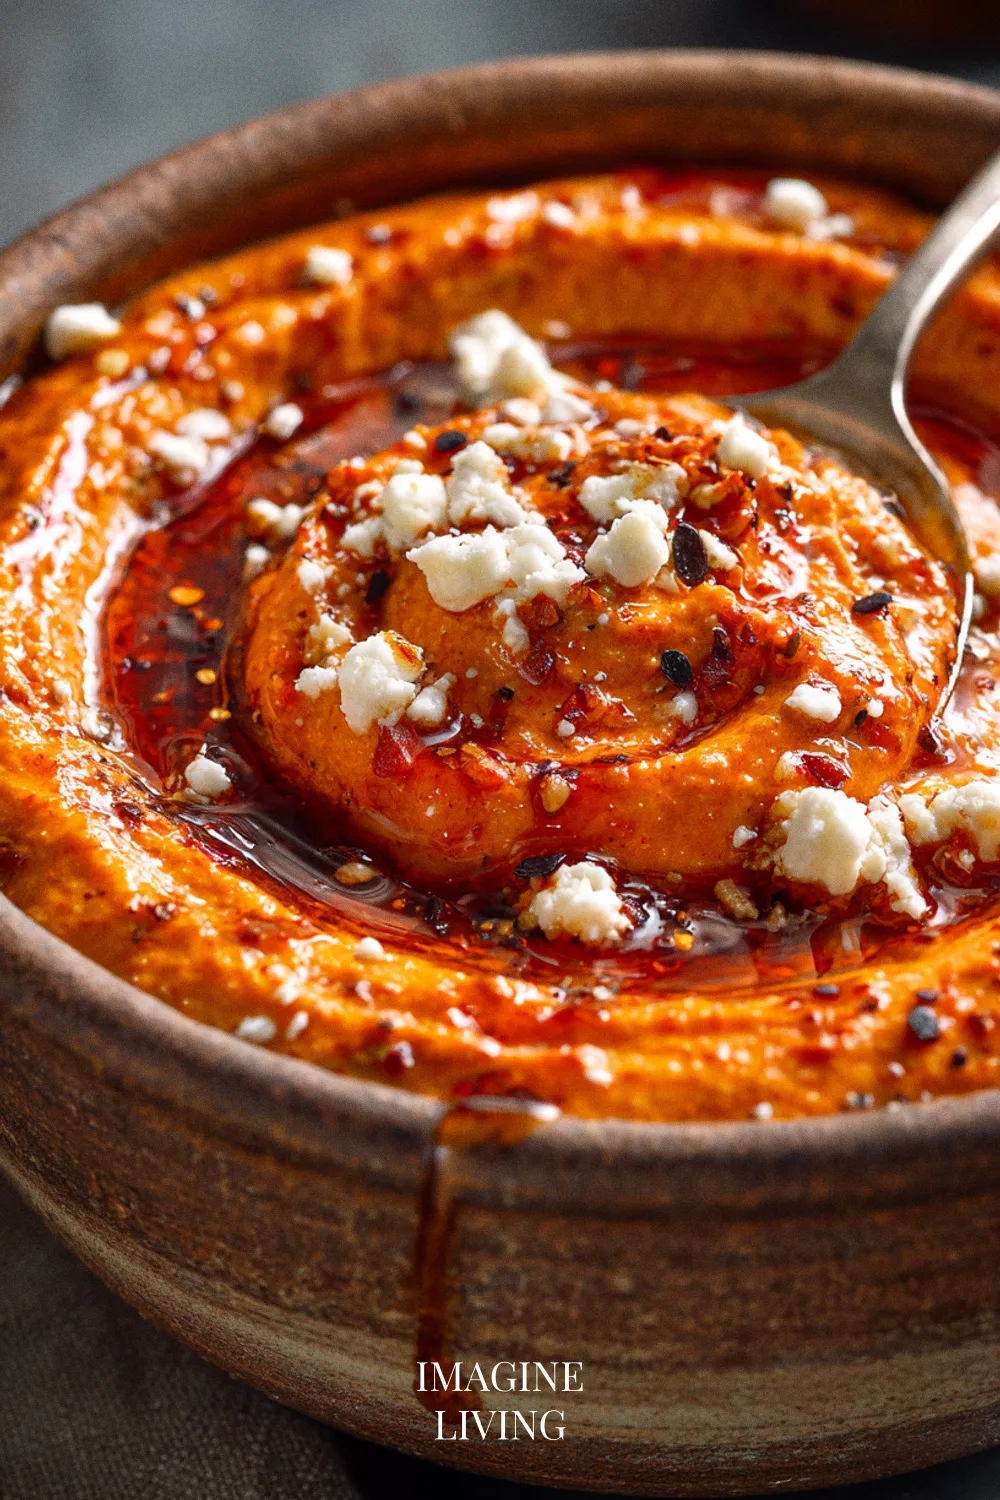
Delicious Dip Memories Await
Once this dip has had a little time to chill, it settles into a relaxed, balanced flavor that works with almost anything you set beside it. It’s the kind of bowl you put out and then casually notice emptying on its own — a quiet compliment in dip form. Enjoy it wherever it lands.
Roasted Red Pepper BBQ Dip
Equipment
- Mixing bowl
- Blender
- Spatula
- Serving dish
Ingredients
For the Dip
- 1 cup roasted red peppers, drained (280g)
- 1 cup cream cheese softened (240g)
- ½ cup sour cream (120g)
- ¼ cup BBQ sauce (60ml)
- 1 teaspoon garlic powder
- ½ teaspoon smoked paprika
- Salt and pepper to taste
Instructions
Step 1: Prepare the Base
- Add softened cream cheese and sour cream to a blender/food processor. Blend until creamy and fully smooth, scraping down the sides as needed.
- Tip: If it struggles to move, add 1–2 tbsp milk (or a small splash of pepper liquid) to get it going.
Step 2: Incorporate the Flavors
- Add roasted red peppers, BBQ sauce, garlic powder, smoked paprika, salt, and pepper. Blend again until silky smooth and evenly colored.
- Tip: Taste, then adjust—more BBQ for sweetness, more paprika for smoke, more salt to sharpen.
Step 3: Chill and Serve
- Pour into a serving dish and chill at least 30 minutes to thicken and let the flavors settle.
- Tip: For the smoothest texture, chill it, then give it one quick stir before serving.
Notes
- Use store-bought roasted red peppers for speed, or roast your own for a fresher taste.
- Pair with an array of dippers like fresh vegetables, tortilla chips, or toasted baguette slices.
- Consider adding more spices if you enjoy a kick; cayenne pepper adds a lovely heat.
- This dip can be served warm or cold, depending on your preference.