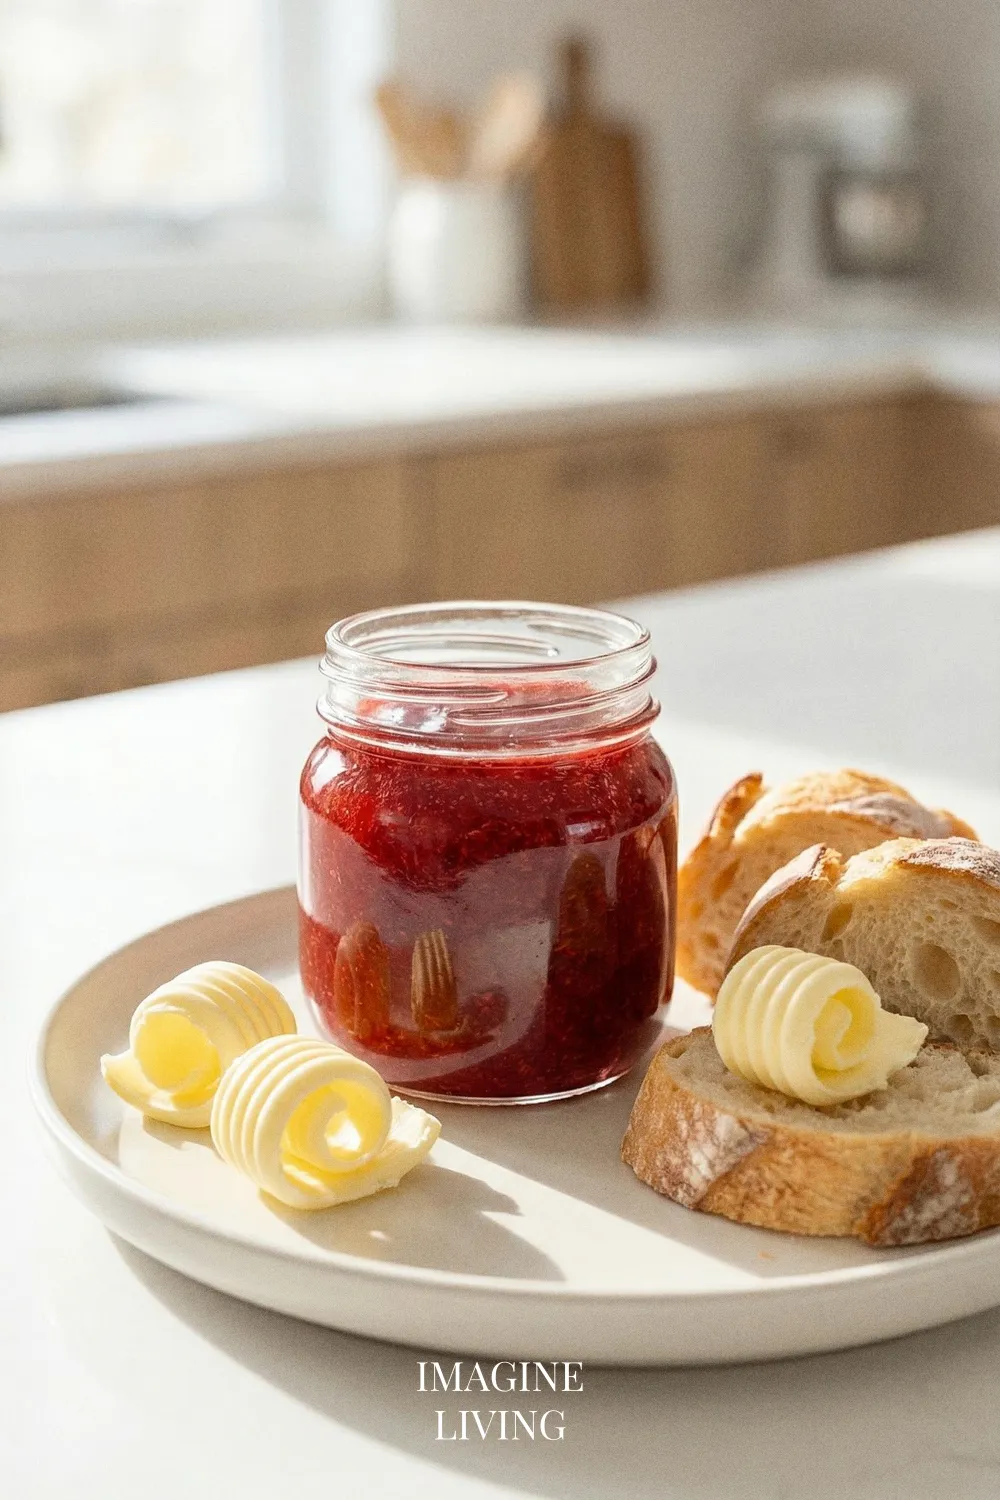
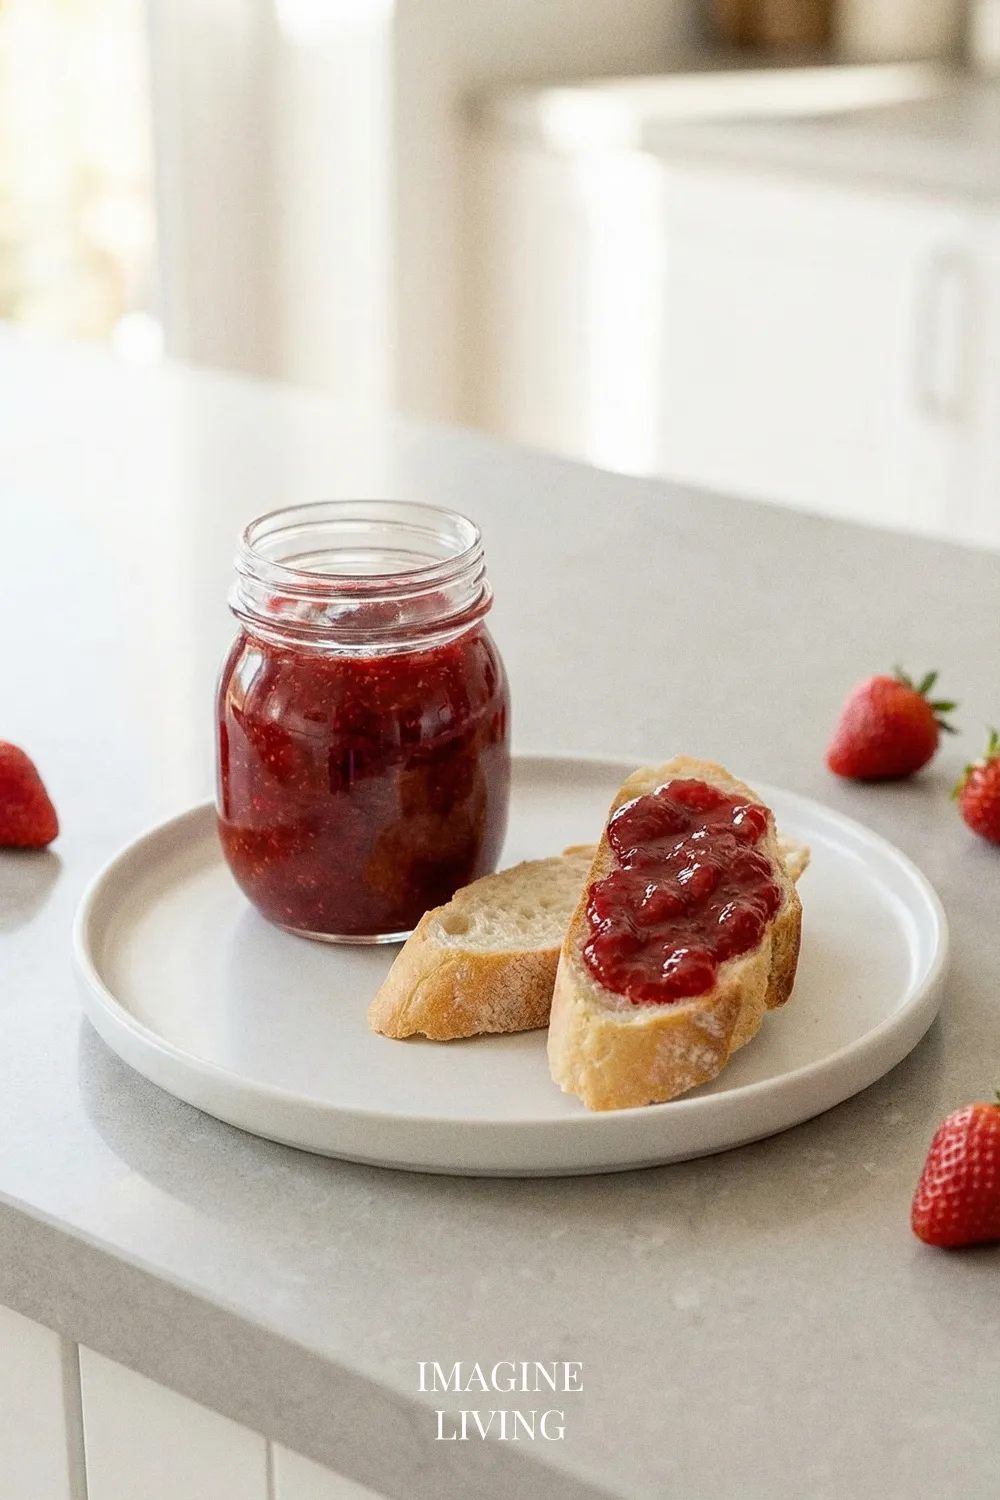
Homemade Strawberry Marmalade That Dazzles Your Palate
The scent of fresh strawberries hits first, bright and a little heady, the way they get when you’ve just cut into them. There’s a small quiet moment here while everything settles in the bowl — a reminder that this is simpler than it looks. And if a bit of sunlight happens to catch the fruit just right, well, that’s its own small reward. Consider this your gentle nudge that you’ve got this, even if marmalade feels like a “project.”
Why You’ll Love This Recipe
There’s something undeniably charming about homemade marmalade. It turns a short list of ingredients into a spread that tastes lively and fresh.
- Easy to make with just a few key ingredients.
- Perfect balance of sweetness and acidity with fresh strawberries and citrus.
- Versatile enough for desserts, sauces, glazes, and toast.
- Great way to preserve the taste of summer all year round.
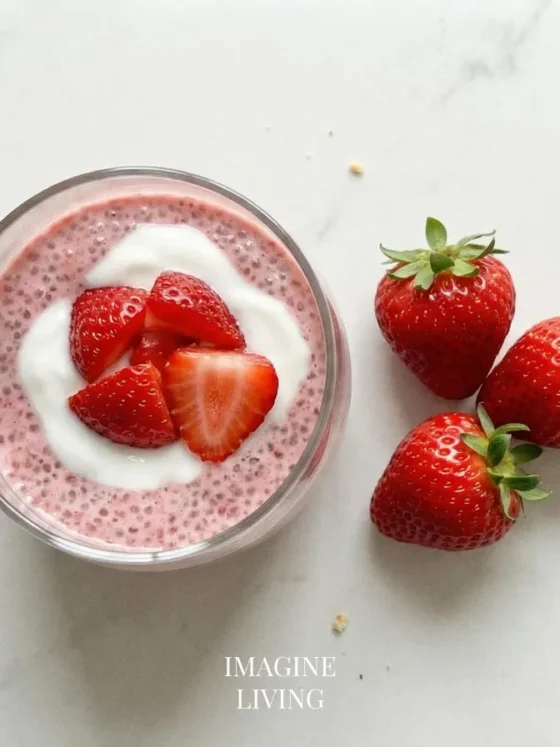
“Sweet, tangy strawberry marmalade for toast, yogurt, and desserts.” 🍓✨

Ingredients: Fresh Strawberry Marmalade Recipe (Makes About 2 Cups)
For the Marmalade
- 2 cups (300 g) fresh strawberries, hulled and chopped
- 1 cup (200 g) granulated sugar
- 1/4 cup (60 ml) freshly squeezed lemon juice
- Zest of 1 lemon
Servings: About 2 cups
Equipment Needed
- Medium saucepan
- Wooden spoon or spatula
- Sterilized jars for storage
- Measuring cups and spoons
Step-By-Step Guide: Homemade Strawberry Marmalade
A quick heads-up before you start: the main challenge here is pacing — letting the mixture thicken without rushing it. Once you settle into the rhythm, it’s surprisingly easy.
Step 1: Prepare the Strawberries
In a medium saucepan, combine the chopped strawberries, sugar, lemon juice, and lemon zest. Let the mixture sit for 10–15 minutes so the strawberries release their juices and create a fragrant syrup. The color deepens a bit as it rests — a good sign.
Tip: Make sure your strawberries are ripe for the best flavor!
Options: You can use frozen strawberries for a different texture.
Step 2: Cook the Mixture
Place the saucepan over medium heat. Stir gently to dissolve the sugar. When the mixture begins to bubble, reduce the heat to a simmer. There’s a moment when the scent turns warm and slightly jammy — that’s when it’s settling in.
Option note: If using frozen strawberries, adjust the cooking time slightly.
Step 3: Thicken It Up
Let it simmer for 20–30 minutes. Stir occasionally and watch as the mixture thickens to a glossy finish. Every now and then, the bubbles slow down — a small hint you’re getting close.
Tip: Use a spoon to test the consistency; it should coat the back and hold a line when you run your finger through it.
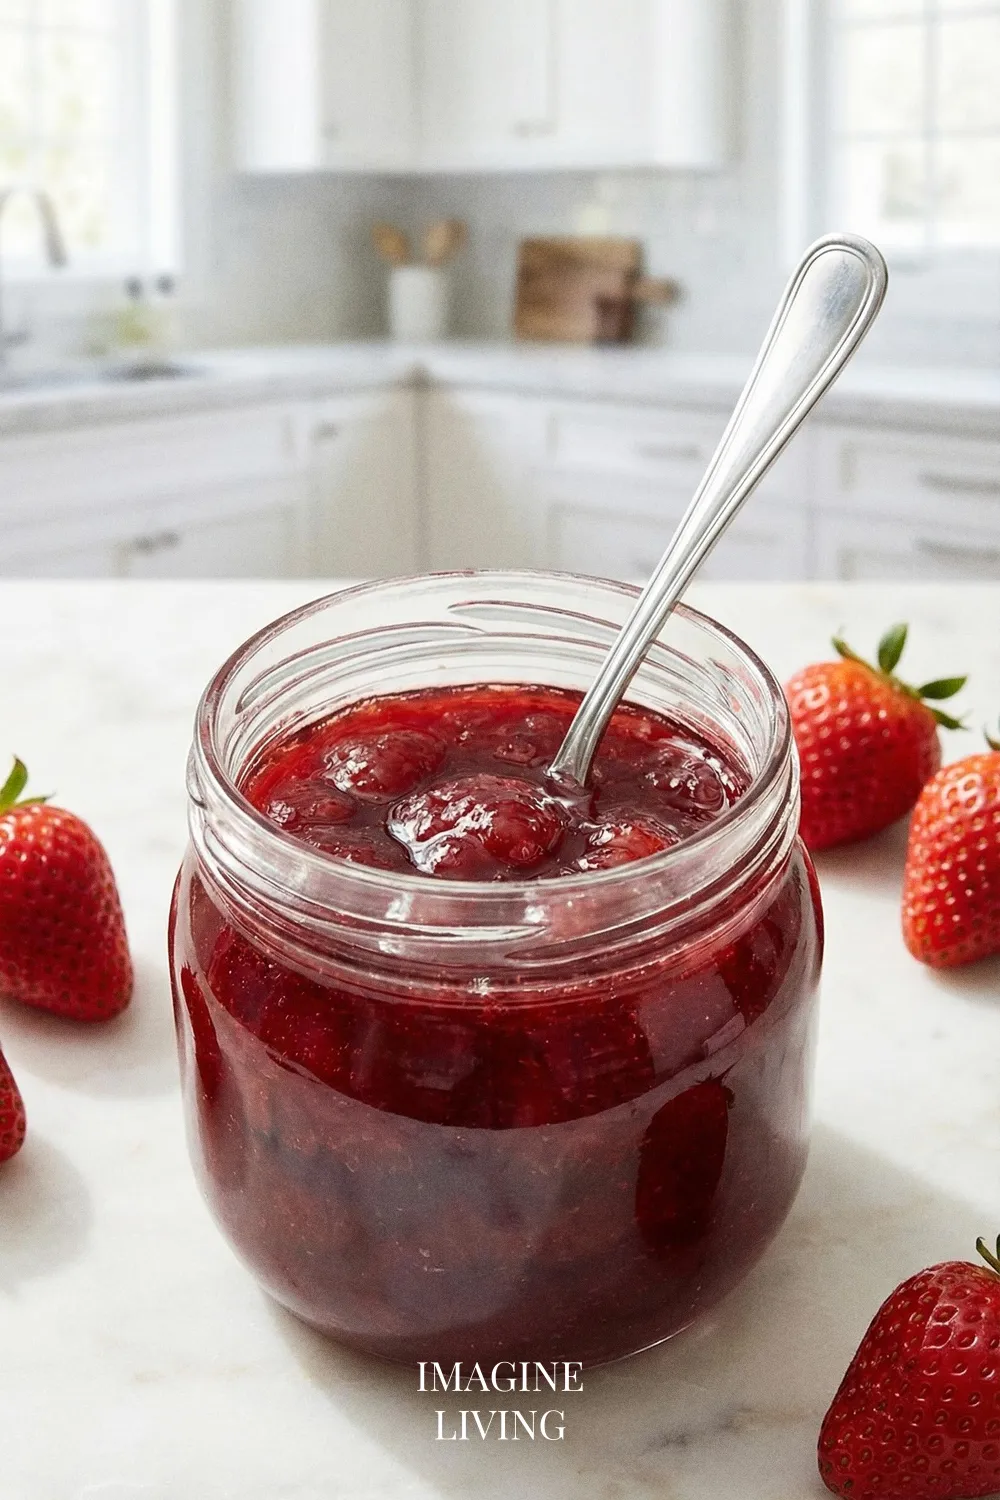
Step 4: Jar It Up
When the marmalade reaches the right consistency, remove the pan from the heat. Let it cool for about 10 minutes before transferring it into sterilized jars. The surface smooths out as it rests.
Tip: Leave a little space at the top of the jar to allow for expansion.
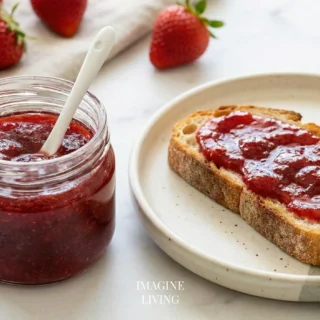
Step 5: Enjoy!
Let the jars cool completely at room temperature. Store them in the refrigerator for up to a month.
Pro Tips for Homemade Strawberry Marmalade
A few small things make the process smoother — nothing fancy, just the kind of details you notice when you’ve made it a few times.
- Use ripe, sweet strawberries for the best flavor.
- Don’t skip the lemon juice; it enhances the flavor and helps preserve the marmalade.
- Monitor the cooking process closely to prevent burning.
A gentle simmer goes a long way.
Dietary Variations & Substitutions
Vegan Version
- This recipe is already vegan-friendly, as it contains no animal products.
- Ensure that any additional add-ins, like herbs or spices, are also vegan.
Tip: Consider using coconut sugar for a different flavor profile while keeping it vegan.
Low-Sugar Version
- Reduce the granulated sugar by 50% and add a natural sweetener like stevia or monk fruit sweetener to taste.
- You may need to adjust the cooking time slightly as lower sugar content can affect consistency.
Tip: Taste the mixture before canning to ensure the sweetness level is to your liking.
Gluten-Free Version
- The recipe is naturally gluten-free since it does not contain any flour or gluten-based ingredients.
Tip: Be cautious with cross-contamination by ensuring your equipment and jars are gluten-free.
Nut-Free Version
- This recipe does not contain nuts, making it naturally nut-free.
- Always verify that any added ingredients or variations (like flavors) are also nut-free.
Tip: Check for nut contamination in any flavor extracts you may choose to use.
Creative Variations: Strawberry Marmalade Alternatives
Strawberry Orange Marmalade
Combine strawberries with the zest and juice of one orange for a citrusy twist.
Tip: Pair with cream cheese on a bagel for a delightful breakfast.
Strawberry Basil Marmalade
Add fresh basil leaves to the mixture during the last few minutes of cooking.
Tip: This version is fabulous as a glaze for grilled meats.
Strawberry Vanilla Marmalade
Incorporate a split vanilla bean while cooking.
Tip: Use this on pancakes for a decadent brunch.
Strawberry Mint Marmalade
Mix in fresh mint at the end of cooking.
Tip: This marmalade is delicious spread over yogurt.
Strawberry Rhubarb Marmalade
Add chopped rhubarb to the strawberries.
Tip: This is fantastic as a filling for pastries.
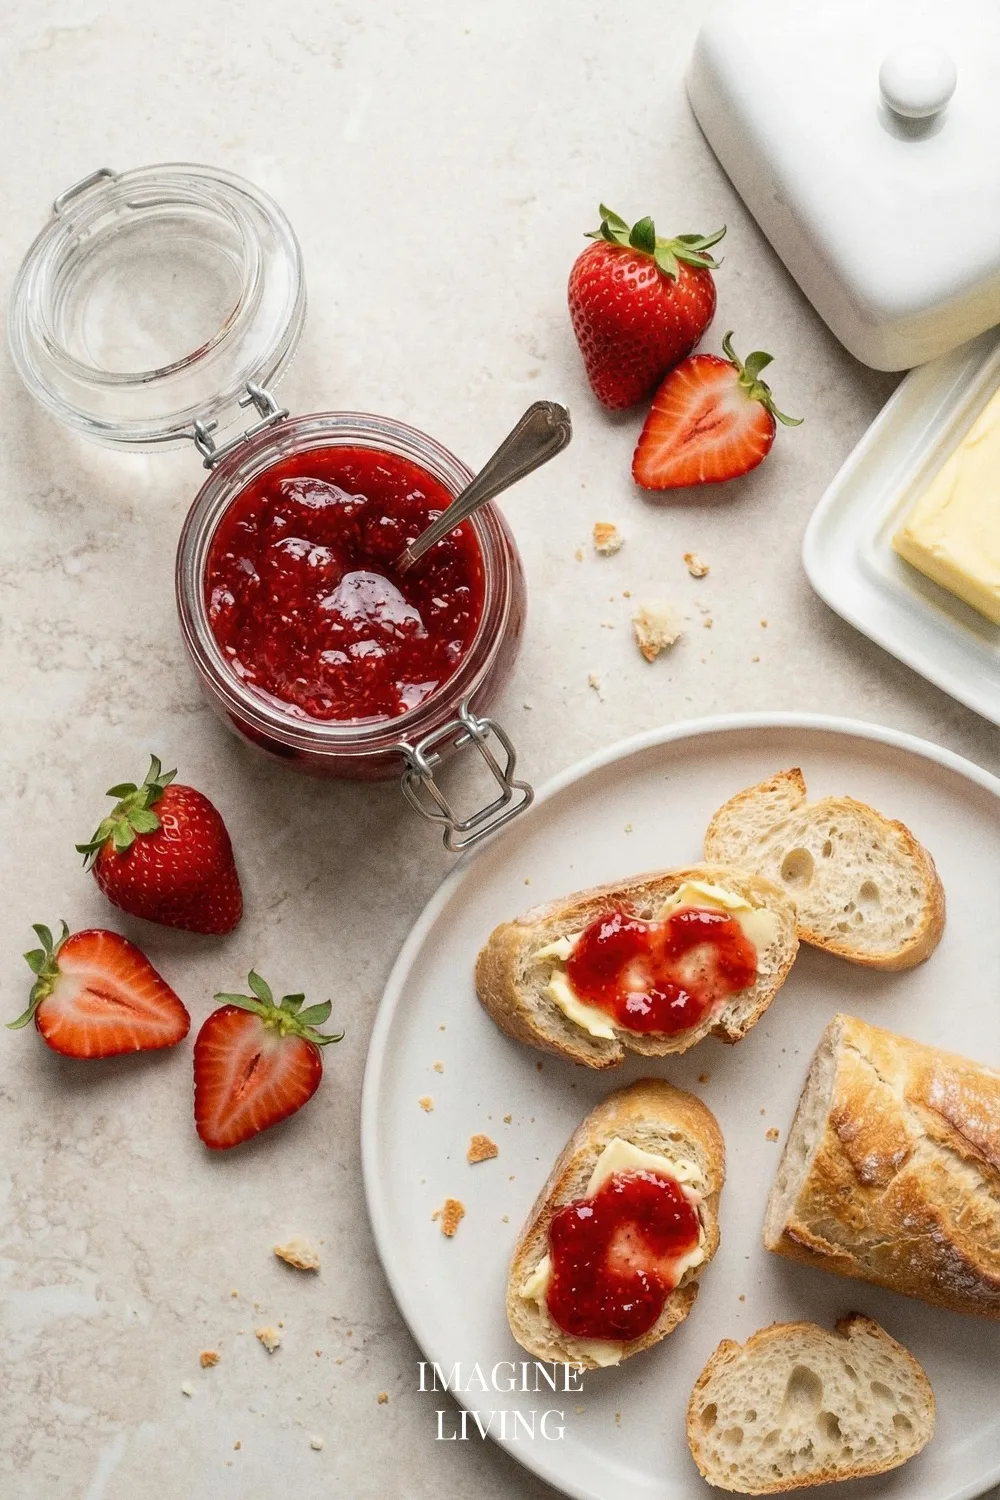
Serving Suggestions
- Spread it over warm biscuits or scones.
- Swirl into Greek yogurt.
- Use as a filling for cakes or pastries.
Storage and Reheating
Store the marmalade in airtight jars in the refrigerator for up to a month. For longer storage, you can process it in sterilized jars. Reheat gently in a small saucepan over low heat if needed.
Common Mistakes to Avoid
A few things tend to trip people up, but each one has an easy fix.
Overcooking the Marmalade
Keep an eye on the mixture; it can go from perfect to burnt quickly.
Tip: Always test for the right consistency as it thickens.
Not Using Enough Fruit
The fruit-to-sugar ratio is key.
Tip: Stick to the measurements for best results.
Skipping Sterilization
Unsterilized jars can lead to spoilage.
Tip: Always sterilize your jars before filling them.
Not Testing for Gel Stage
You want the marmalade to reach gel stage for proper thickness.
Tip: Use a thermometer; it should reach around 220°F (104°C).
Forgetting to Cool Before Sealing
Sealing hot marmalade can cause issues.
Tip: Let the marmalade cool slightly before sealing.
FAQs
How long does homemade strawberry marmalade last?
It can last for about a month in the refrigerator. If you can, it can last longer.
Can I use frozen strawberries?
Yes, frozen strawberries will work but may result in a different texture.
Do I need to can the marmalade?
Canning is optional, but it increases shelf life significantly.
How do I know if the marmalade is ready?
It should thicken and coat the back of a spoon.
Can I adjust the sugar level?
You can reduce sugar, but it may affect preservation and flavor balance.
A Simple Pleasure in a Jar
There’s an easy satisfaction in seeing the jars lined up once they’ve cooled, each one holding a bit of bright, fresh flavor. No need to turn it into anything bigger than it is — just a small, good thing you made with your own hands.
Homemade Strawberry Marmalade
Equipment
- Medium saucepan
- Wooden spoon or spatula
- Sterilized jars for storage
- Measuring cups and spoons
Ingredients
For the Marmalade
- 2 cups fresh strawberries hulled and chopped
- 1 cup granulated sugar
- 1/4 cup freshly squeezed lemon juice
- Zest of 1 lemon
Instructions
Step 1: Prepare the Strawberries
- In a medium saucepan, combine the chopped strawberries, sugar, lemon juice, and lemon zest. Allow this mixture to sit for 10-15 minutes to let the strawberries release their juices, creating a fragrant syrup.
- Tip: Make sure your strawberries are ripe for the best flavor!
Step 2: Cook the Mixture
- Place the saucepan over medium heat. Stir gently to dissolve the sugar. Once the mixture starts to bubble, reduce the heat to a simmer.
Step 3: Thicken It Up
- Let it simmer for about 20-30 minutes. Stir occasionally and watch as the mixture thickens to a beautifully glossy finish, giving off a tempting aroma.
- Tip: Use a spoon to test the consistency; it should coat the back and hold a line when you run your finger through it.
Step 4: Jar It Up
- Once you achieve the right consistency, remove the pan from heat. Allow it to cool for about 10 minutes before pouring the marmalade into sterilized jars. Seal tightly.
- Tip: Leave a little space at the top of the jar to allow for expansion.
Step 5: Enjoy!
- Let the jars cool completely at room temperature. Store them in the refrigerator for up to a month.
Notes
- Use ripe, sweet strawberries for the best flavor.
- Don’t skip the lemon juice; it enhances the flavor and helps preserve the marmalade.
- Monitor the cooking process closely to prevent burning.