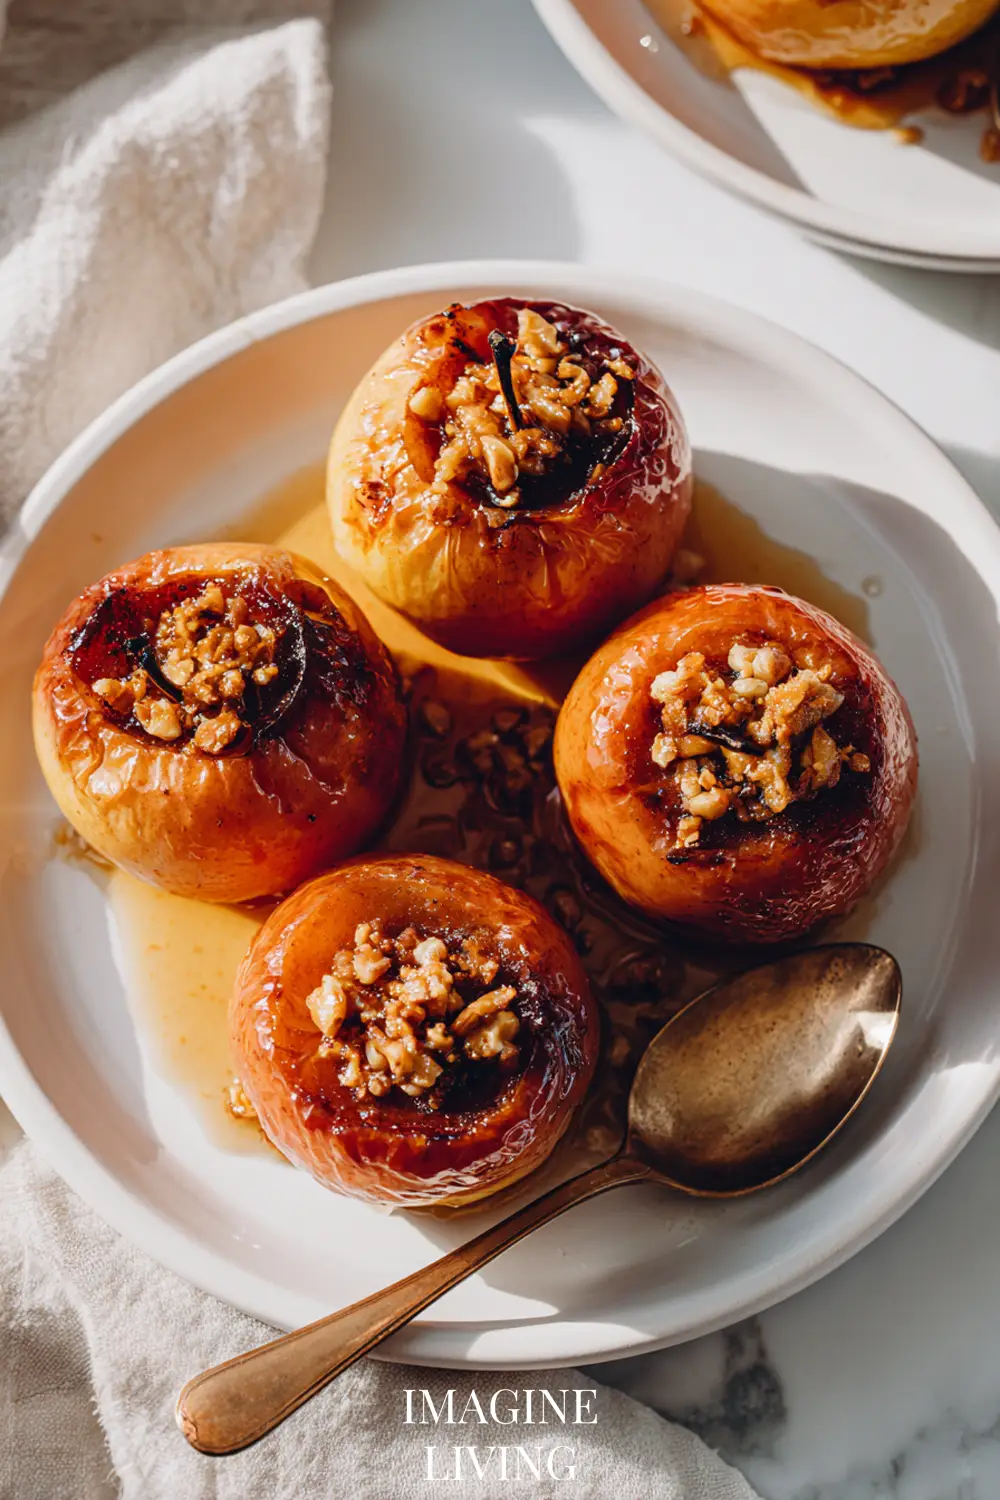
Warmed By Autumn: Cozy Baked Apples Stuffed With Comfort
The scent of cinnamon drifting from the oven. The gentle crackle of oats toasting. The tender bite of a warm apple filled with sweet spices and nutty goodness. These baked apples are one of my favorite weekend desserts—simple, nostalgic, and made for curling up on the couch with a blanket and a cup of tea. Whether you’re watching leaves fall outside your window or winding down after a long day, this recipe brings a little warmth to the season.
“A dessert shared with someone you love is twice as sweet.” – M.
Why You’ll Love This Recipe
- Perfect for cozy autumn evenings
- Naturally sweet and wholesome
- Great for make-ahead weekend desserts
- Customizable with your favorite nuts or dried fruit
- A warm, oven-baked treat that fills the kitchen with nostalgic aroma
“Cooking is love made visible.”
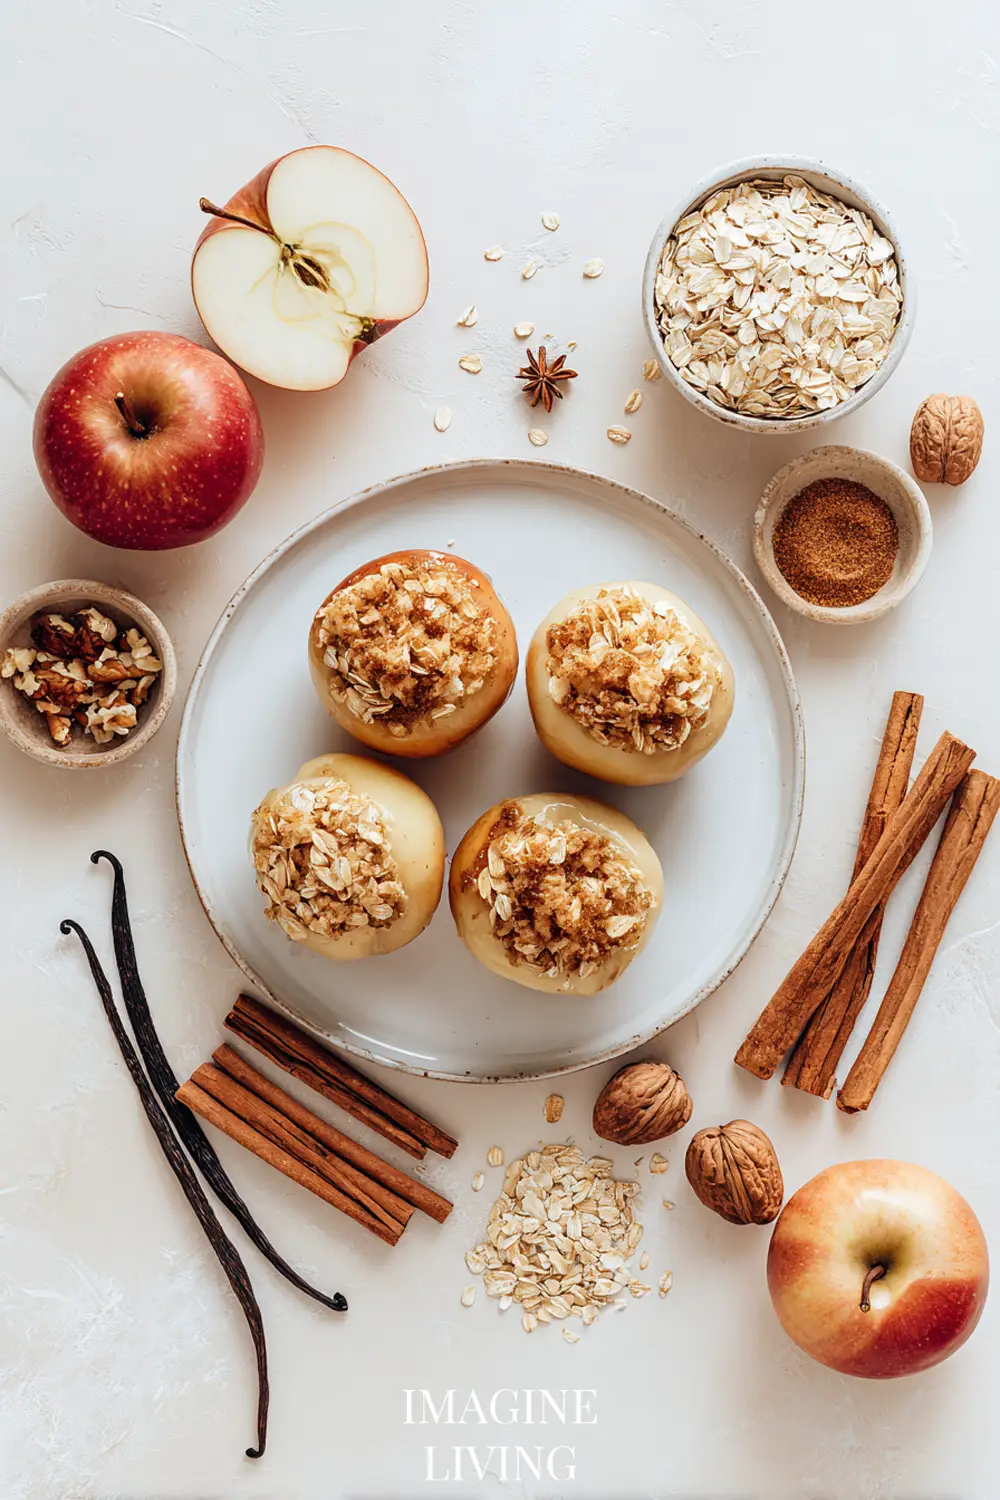
Ingredients: A Wholesome Blend for Cozy Baked Apples
Makes 4 servings
For the Apples
- 4 medium apples, cored (Honeycrisp or Granny Smith work beautifully)
- 1 tablespoon lemon juice
For the Filling
- 1/2 cup rolled oats
- 1/4 cup chopped walnuts or pecans
- 2 tablespoons brown sugar
- 1/2 teaspoon ground cinnamon
- 1/8 teaspoon ground nutmeg
- Pinch of salt
- 2 tablespoons unsalted butter, melted
- Optional: 2 tablespoons raisins or chopped dried cranberries
For Baking
- 1/2 cup apple cider or water
Equipment Needed
- Apple corer or paring knife
- Mixing bowl
- Baking dish (8×8 or similar)
- Small saucepan or microwave-safe bowl
- Spoon for stuffing apples
- Foil or baking lid
Step-by-Step Guide to Perfectly Stuffed Baked Apples
Step 1: Preheat the Oven
Preheat your oven to 375°F (190°C).
Tip: Starting with a hot oven helps the apples cook evenly and caramelize beautifully.
Step 2: Core the Apples
Use an apple corer or small paring knife to remove the core, leaving the bottom intact to hold the filling.
Tip: If you cut all the way through, place a small slice of apple at the base to plug the hole.
Step 3: Brush with Lemon Juice
Brush the inside of each cored apple with lemon juice to prevent browning.
Tip: This also adds a subtle brightness to balance the sweetness.
Step 4: Make the Filling
In a mixing bowl, combine oats, chopped nuts, brown sugar, cinnamon, nutmeg, salt, and melted butter. Stir until the mixture is well-coated.
“Imagine the aroma of cinnamon and toasted oats filling your kitchen as you mix.”
Step 5: Stuff the Apples
Spoon the filling into the center of each apple, packing it lightly. Add dried fruit if desired.
Tip: Overstuff slightly, as the filling settles during baking.
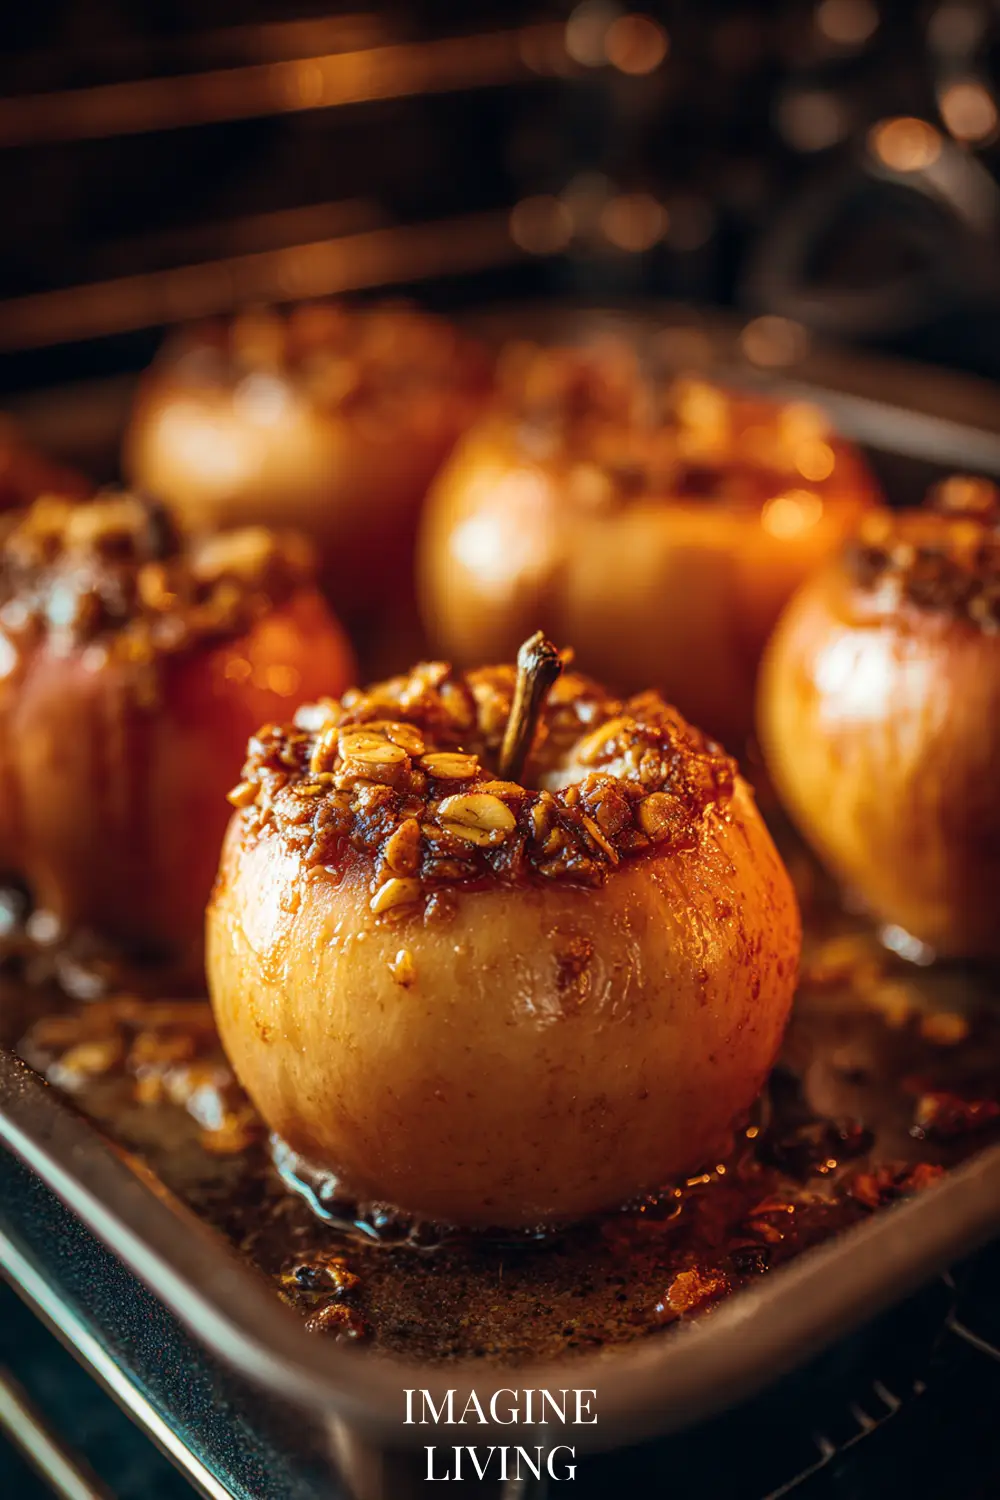
Step 6: Add Liquid and Bake
Place the stuffed apples into a baking dish. Pour apple cider or water into the bottom of the dish. Cover with foil. Bake for 25–30 minutes, then uncover and bake another 10–15 minutes until tender.
Tip: Baste the apples with pan juices halfway through for extra flavor.
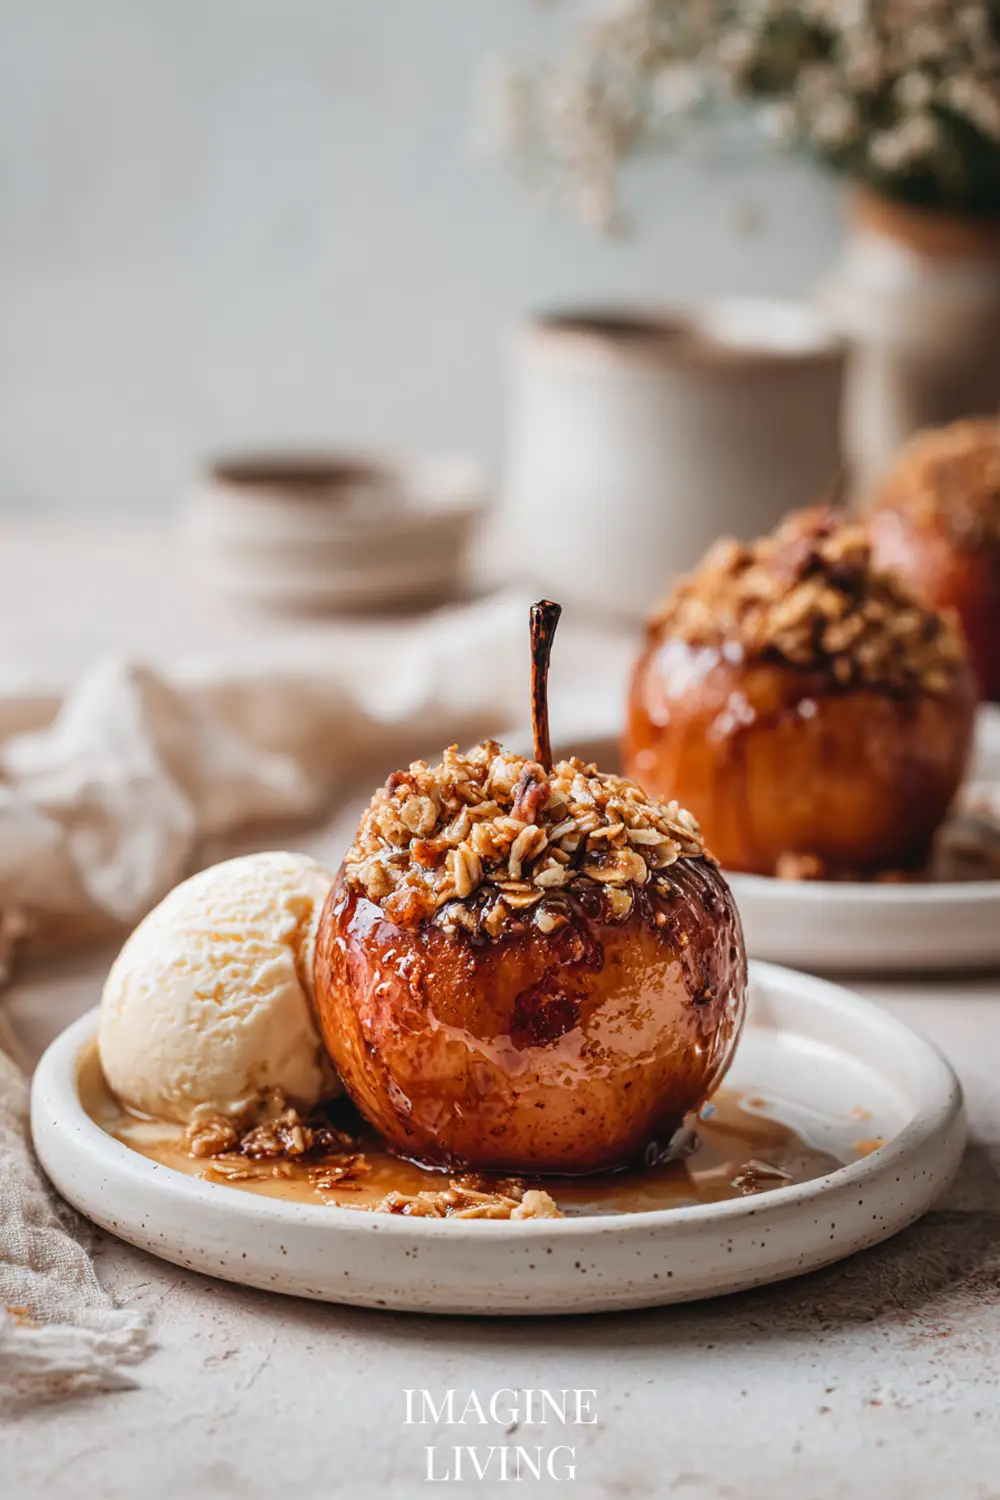
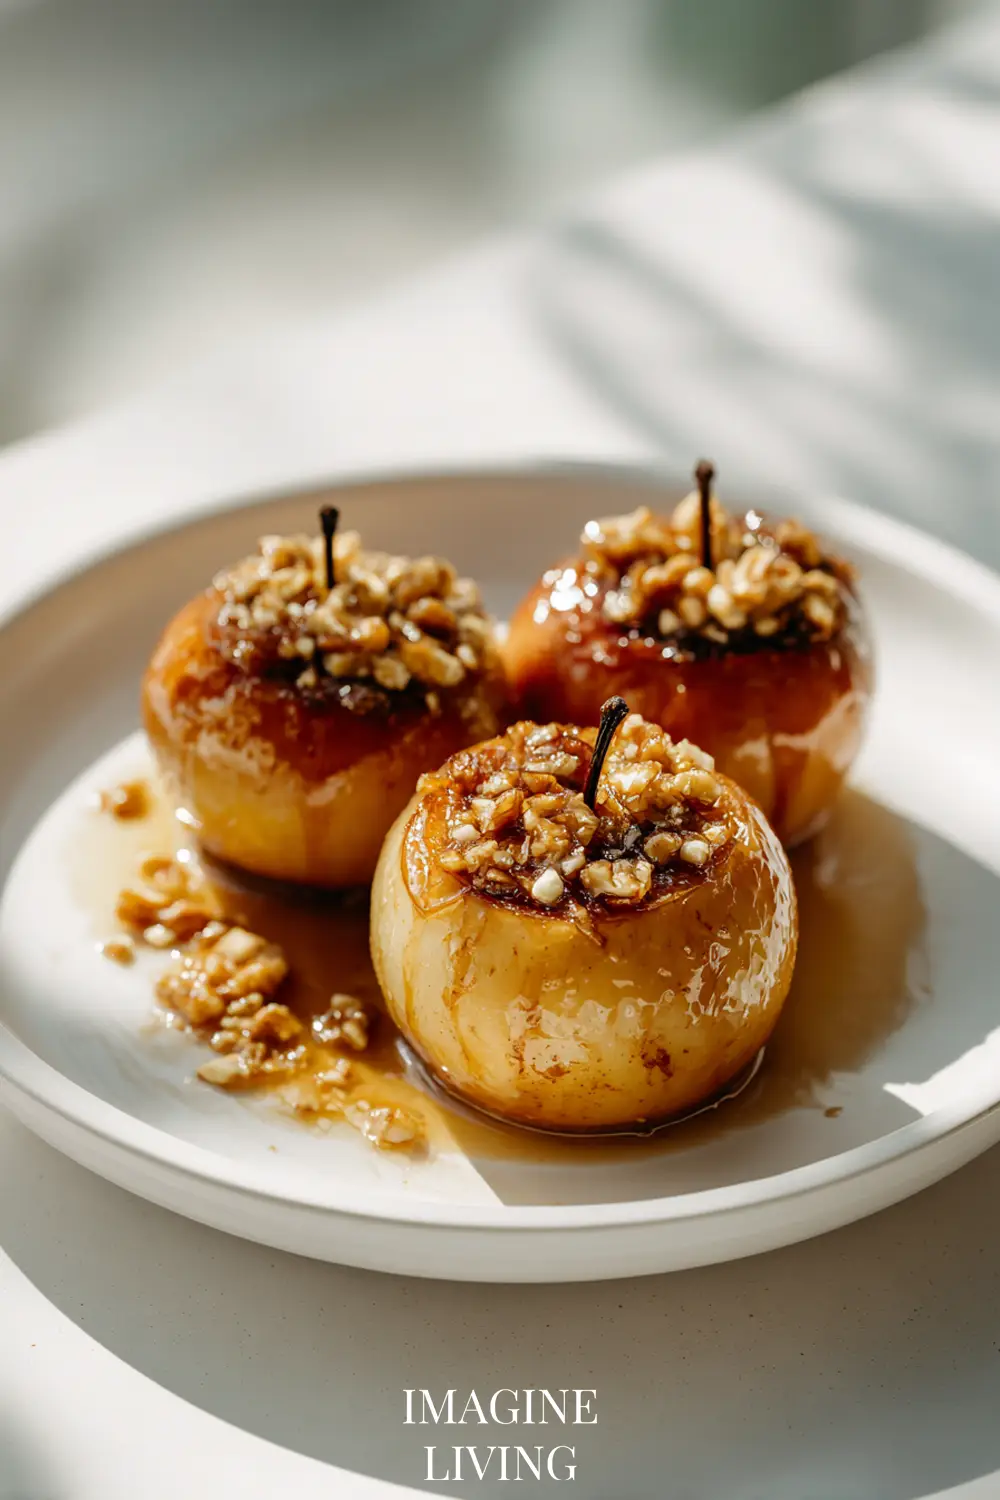
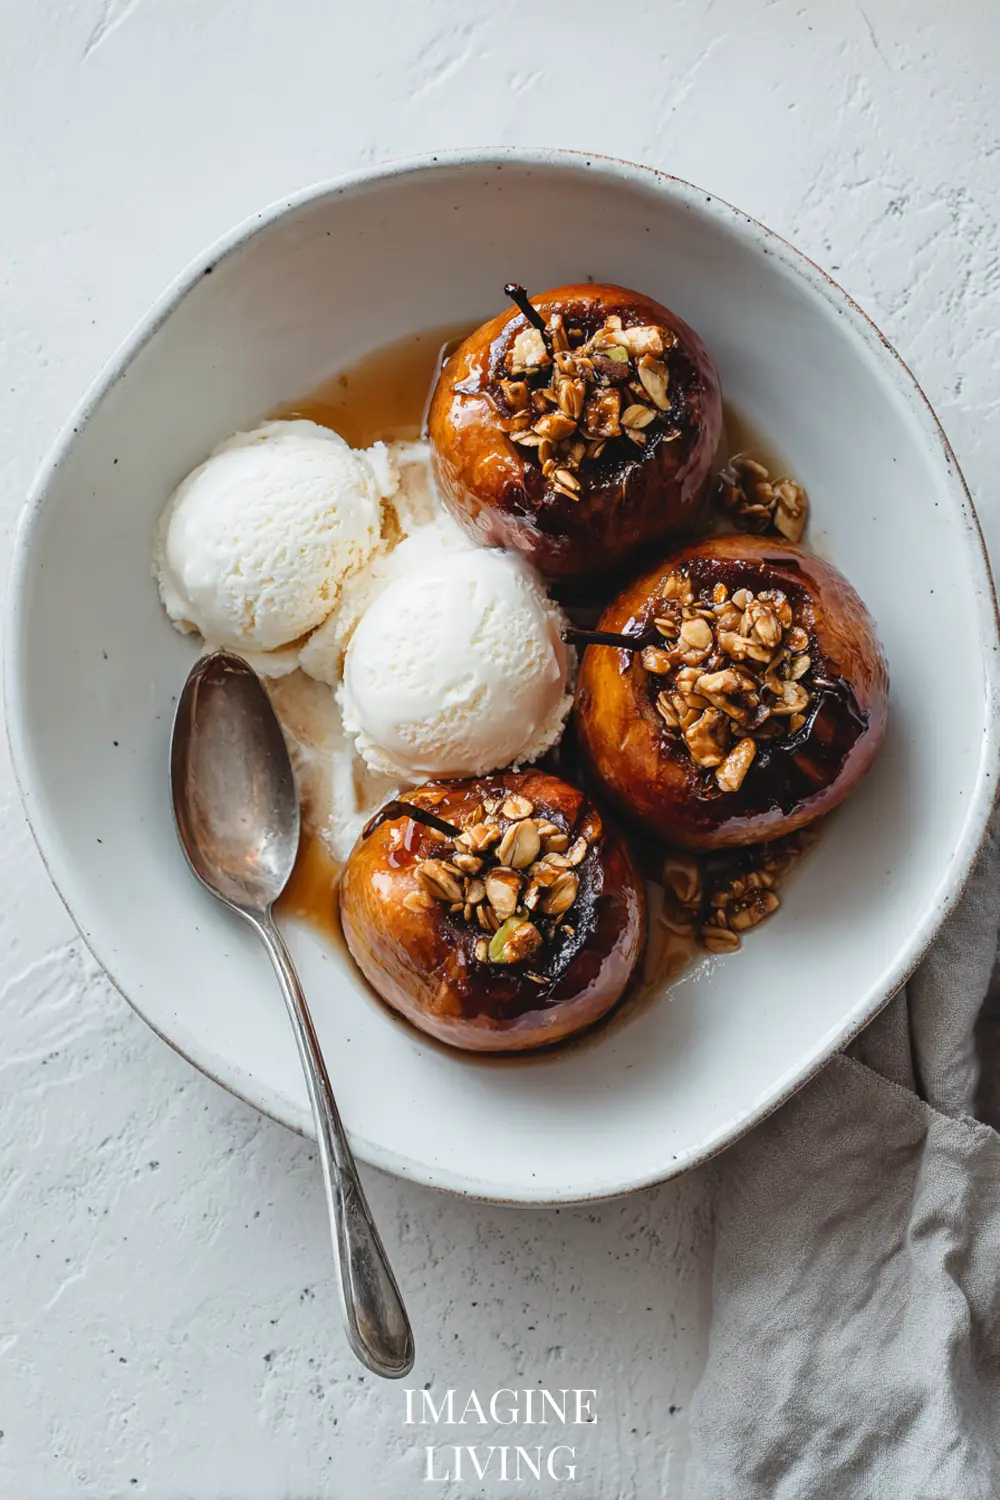
Step 7: Cool Slightly and Serve
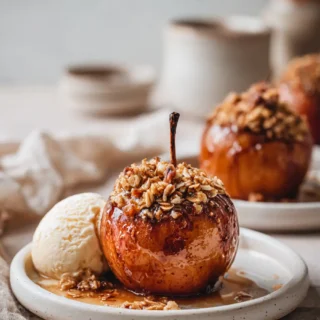
Let the apples rest for 5–10 minutes after baking. Serve warm, optionally with a scoop of vanilla ice cream or dollop of whipped cream.
Tip: The resting time allows the juices to thicken slightly and the flavors to settle.
“There is no season like autumn, and no dessert like warm baked apples.”
Time Needed
- Prep Time: 15 minutes
- Cook Time: 40–45 minutes
- Total Time: About 1 hour
- Perfect timing for a weekend dessert while you unwind from the week.
Pro Tips for Flawless Baked Apples Every Time
- Choose firm apples like Honeycrisp or Granny Smith so they hold their shape during baking.
- If using sweeter apples like Fuji, reduce the sugar slightly in the filling.
- Add a dash of maple syrup or honey for deeper sweetness.
- Soak raisins or cranberries in warm cider before adding to the filling for extra plumpness.
- Toast the oats and nuts lightly before mixing for a richer flavor.
- Sprinkle a pinch of sea salt over the filling before baking to balance the sweetness.
- For a richer dessert, serve with a drizzle of caramel sauce.
- Double the batch and refrigerate leftovers—they’re great warmed up for breakfast!
- Use a mix of nuts for texture—pecans add warmth, almonds add crunch.
- Imagine the crispness of fall outside, and the warmth of cinnamon and apple wafting through your kitchen.
Creative Variations: Make These Baked Apples Your Own
Maple Pecan Delight
Swap brown sugar for maple syrup and use all pecans.
Tip: Add a dash of vanilla to the filling for even more warmth.
Cranberry Orange Zest
Add dried cranberries and a bit of orange zest to the filling.
Tip: Use orange juice instead of cider for a citrusy twist.
Chocolate Hazelnut Heaven
Mix chopped dark chocolate and hazelnuts into the filling.
Tip: Serve with chocolate sauce and whipped cream for a decadent dessert.
Savory Spice Version
Replace sugar with crumbled goat cheese and drizzle with honey post-bake.
Tip: Add fresh thyme or rosemary for a gourmet edge.
Almond & Apricot
Use sliced almonds and chopped dried apricots for a fruity variation.
Tip: Top with a sprinkle of coconut flakes after baking.
Rustic Crumble Top
Add a bit of all-purpose flour to the filling for a streusel-like texture.
Tip: Broil the apples for the last 2 minutes to crisp the top.
Caramel Apple Classic
Tuck a caramel candy into the center before baking.
Tip: Use tart apples to offset the rich caramel.
Oatmeal Morning Apples
Skip the sugar, add a spoonful of almond butter, and serve with Greek yogurt.
Tip: A wholesome way to turn dessert into breakfast.
“Creativity is just intelligence having fun—with apples and cinnamon.” – Adapted from Albert Einstein
Serving Suggestions
Here’s how to complete your warm, comforting baked apple experience:
- Serve with a scoop of vanilla bean ice cream
- Add a dollop of whipped cream and a sprinkle of cinnamon
- Pair with a mug of hot apple cider or chai tea
- Enjoy alongside a slice of sharp cheddar for a sweet-savory combo
- Plate on a drizzle of caramel sauce for an elegant touch
Storage and Reheating
Baked apples store beautifully and make great leftovers.
- Refrigeration: Store in an airtight container for up to 4 days.
- Freezing: Wrap each apple individually and freeze for up to 2 months. Thaw overnight in the fridge.
- Reheating: Warm in a 325°F (160°C) oven for 10–15 minutes or microwave for 1–2 minutes until heated through.
Tip: Add a splash of cider or water when reheating to keep them moist.
Common Mistakes to Avoid
Using the Wrong Apple Variety
Soft apples like Red Delicious can turn mushy.
Tip: Choose firm varieties like Honeycrisp, Granny Smith, or Pink Lady.
Cutting All the Way Through the Apple
This causes the filling to leak out.
Tip: Leave the bottom of the apple intact when coring, or plug it with a slice of apple.
Overbaking
Too much time in the oven can make apples collapse.
Tip: Check doneness after 35 minutes—apples should be fork-tender, not falling apart.
Undermixing the Filling
Dry spots in the oats can lead to uneven texture.
Tip: Thoroughly mix the butter with dry ingredients to coat evenly.
Forgetting the Liquid in the Pan
Skipping cider or water can lead to dry apples.
Tip: Always add liquid to the baking dish to steam and moisten the fruit.
Not Covering During First Bake
Baking uncovered from the start can dry out the tops.
Tip: Cover for the first 30 minutes, then uncover to brown and finish.
Overstuffing with Wet Ingredients
Too much liquid in the filling can make it soggy.
Tip: Stick to the measured butter and sugar; don’t add extra.
FAQs
What Apples Are Best for Baking?
Firm varieties like Honeycrisp, Granny Smith, or Braeburn work best.
Tip: These hold their shape and balance sweetness with tartness.
Can I Make These Ahead?
Yes! Assemble in advance and refrigerate unbaked apples for up to 24 hours.
Tip: Add the cider just before baking to keep them fresh.
Are These Baked Apples Gluten-Free?
Yes, if you use certified gluten-free oats.
Tip: Always double-check oat packaging if cooking for someone with celiac.
Can I Use Steel-Cut Oats?
Not recommended—they won’t soften enough during baking.
Tip: Stick with rolled oats for the best texture.
Can I Add Alcohol to the Cider?
Yes, a splash of bourbon or spiced rum adds depth.
Tip: Add it to the baking liquid—not directly in the filling—for subtle flavor.
What If I Don’t Have Apple Cider?
Water works fine, or try orange juice for a fruity twist.
Tip: You can also steep a cinnamon stick in water for extra flavor.
How Do I Keep the Apples From Tipping Over?
Trim the base slightly so each apple sits flat.
Tip: Nestle apples tightly in the dish so they support each other while baking.
Can I Double the Recipe?
Absolutely. Use a larger baking dish and adjust spacing.
Tip: Baking time may increase slightly—check for tenderness.
The Heartwarming Comfort of Baked Apples
Few things capture the spirit of autumn quite like a warm, stuffed apple. Whether it’s the scent of cinnamon in the air or the joy of a cozy weekend dessert, this recipe invites you to slow down and savor the season. Simple yet satisfying, rustic yet elegant—it’s the kind of dish you’ll find yourself coming back to, year after year.
Warm Baked Apples Stuffed With Oats, Nuts, and Cinnamon
Equipment
- Apple corer or paring knife
- Mixing bowl
- Baking dish (8×8 or similar)
- Small saucepan or microwave-safe bowl
- Spoon for stuffing
- Foil or baking lid
Ingredients
For the Apples:
- 4 medium apples cored (Honeycrisp or Granny Smith)
- 1 tablespoon lemon juice
For the Filling:
- 1/2 cup rolled oats
- 1/4 cup chopped walnuts or pecans
- 2 tablespoons brown sugar
- 1/2 teaspoon ground cinnamon
- 1/8 teaspoon ground nutmeg
- Pinch of salt
- 2 tablespoons unsalted butter melted
- 2 tablespoons raisins or chopped dried cranberries optional
For Baking:
- 1/2 cup apple cider or water
Instructions
Step 1: Preheat the Oven
- Preheat oven to 375°F (190°C).
Step 2: Core the Apples
- Use a corer or knife to remove the core, leaving the bottom intact.
Step 3: Brush with Lemon Juice
- Coat the inside of apples with lemon juice to prevent browning.
Step 4: Make the Filling
- Mix oats, nuts, sugar, cinnamon, nutmeg, salt, and melted butter. Add dried fruit if using.
Step 5: Stuff the Apples
- Spoon filling into apples, slightly overfilling as it will settle.
Step 6: Add Liquid and Bake
- Place apples in a baking dish. Add cider or water to the bottom. Cover with foil and bake for 25–30 minutes. Remove foil and bake an additional 10–15 minutes until tender.
Step 7: Cool Slightly and Serve
- Let rest 5–10 minutes before serving. Optional: Top with whipped cream or ice cream.