Spooktacular Halloween Brownies
There’s something satisfying about the smell of cocoa warming up the kitchen on a cool October day. I always notice how the batter darkens right at the moment it comes together — a small cue that things are headed in the right direction. These brownies keep the spirit of Halloween fun without complicating anything, and they’re easy enough that you can relax into the process while you make them.
Why You’ll Love This Recipe
These Halloween brownies are a chocolate lover’s dream, combining the satisfaction of classic brownies with the whimsical spirit of the holiday.
- Perfectly fudgy and chewy with a crackly top layer.
- Easily customizable for personal touches.
- Quick to prepare; ideal for unexpected guests.
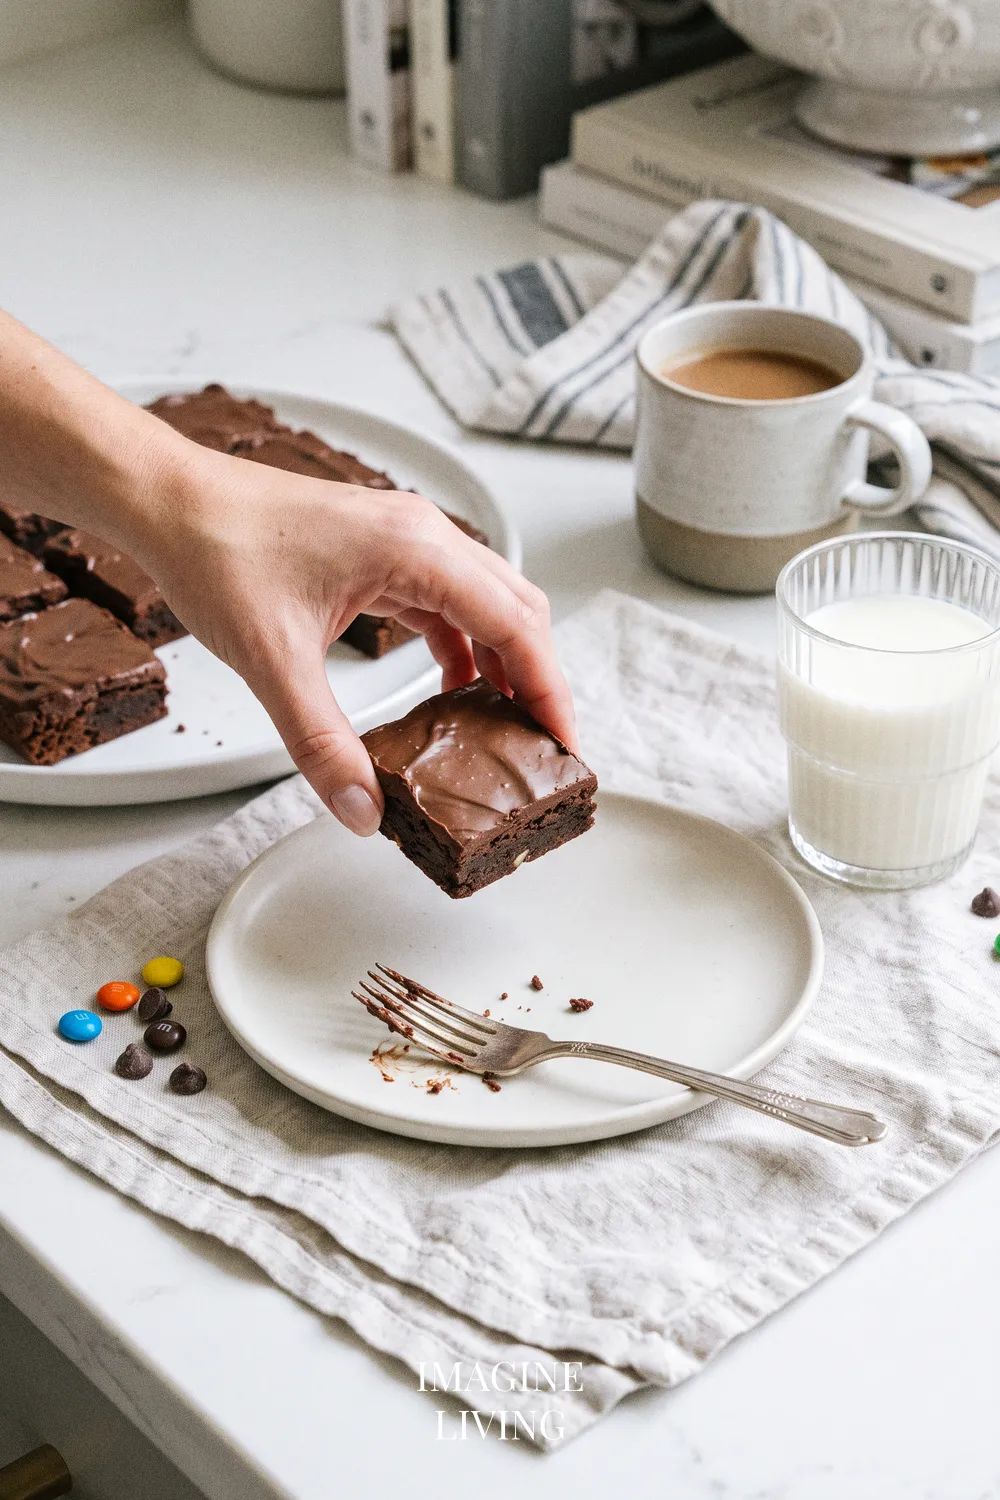
- A decadent treat that pairs lovely with a frosty glass of milk or a hot cup of cider.
Ingredients: Festive Chocolate Brownies
Servings: 12
For the Brownies
- 1 cup (225g) unsalted butter
- 2 cups (400g) granulated sugar
- 4 large eggs
- 1 teaspoon vanilla extract
- 1 cup (125g) all-purpose flour
- 1 cup (90g) unsweetened cocoa powder
- 1/2 teaspoon salt
- 1/2 teaspoon baking powder
For the Toppings
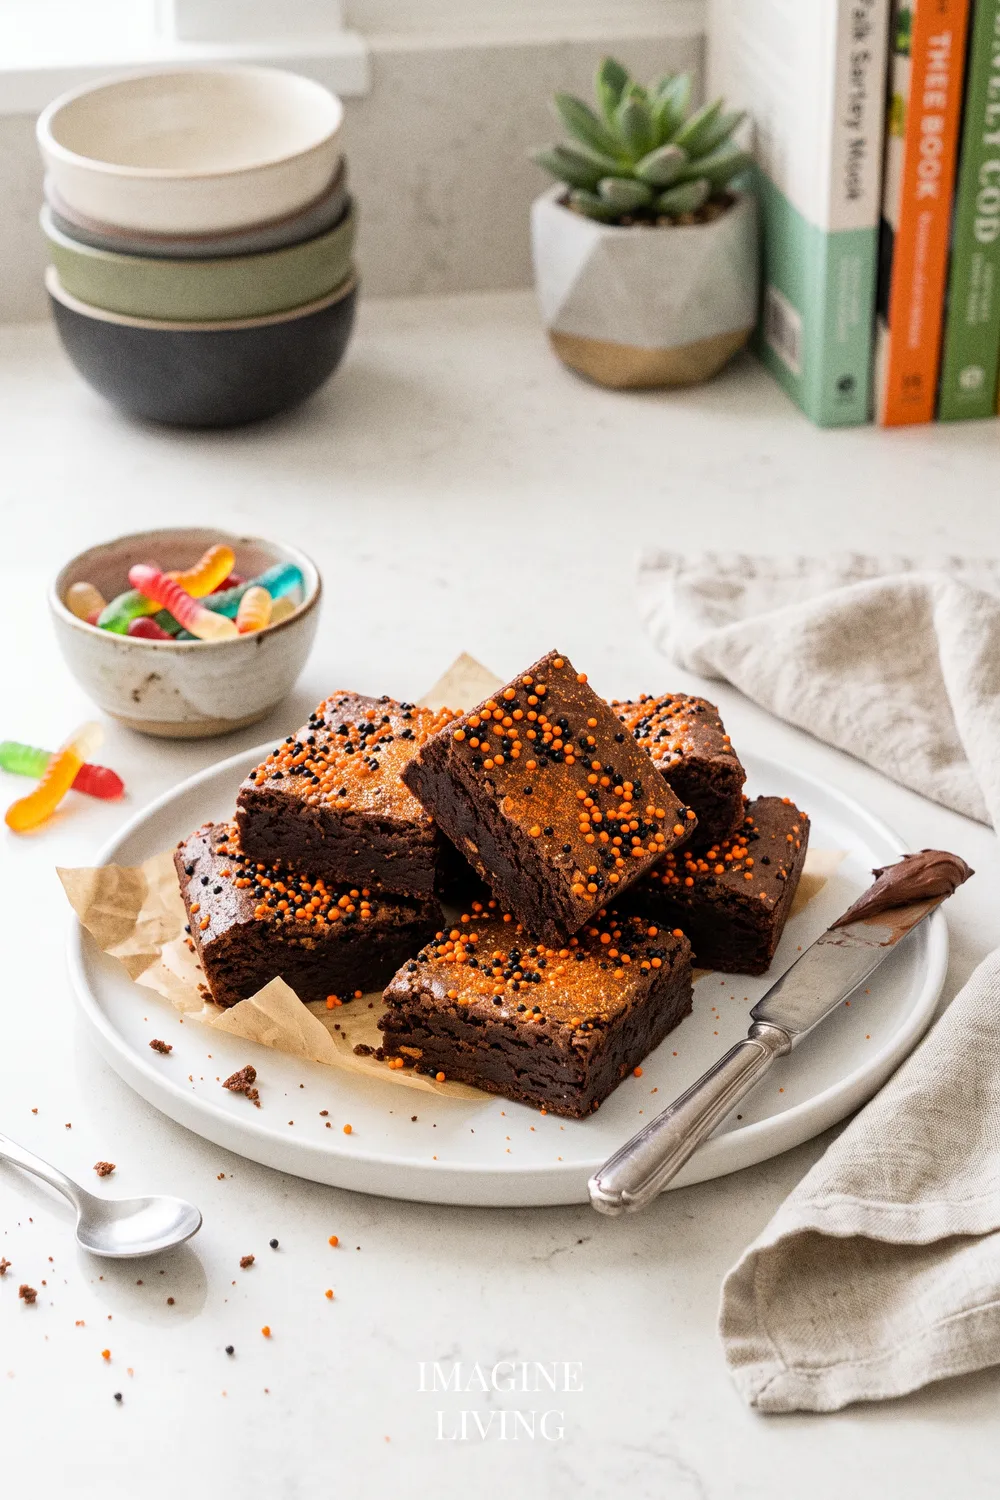
- Halloween-themed candies (such as gummy worms or candy eyeballs)
- Sprinkles (orange and black)
- Edible glitter (optional)
Options: Chocolate chips can also be added for extra fudginess.
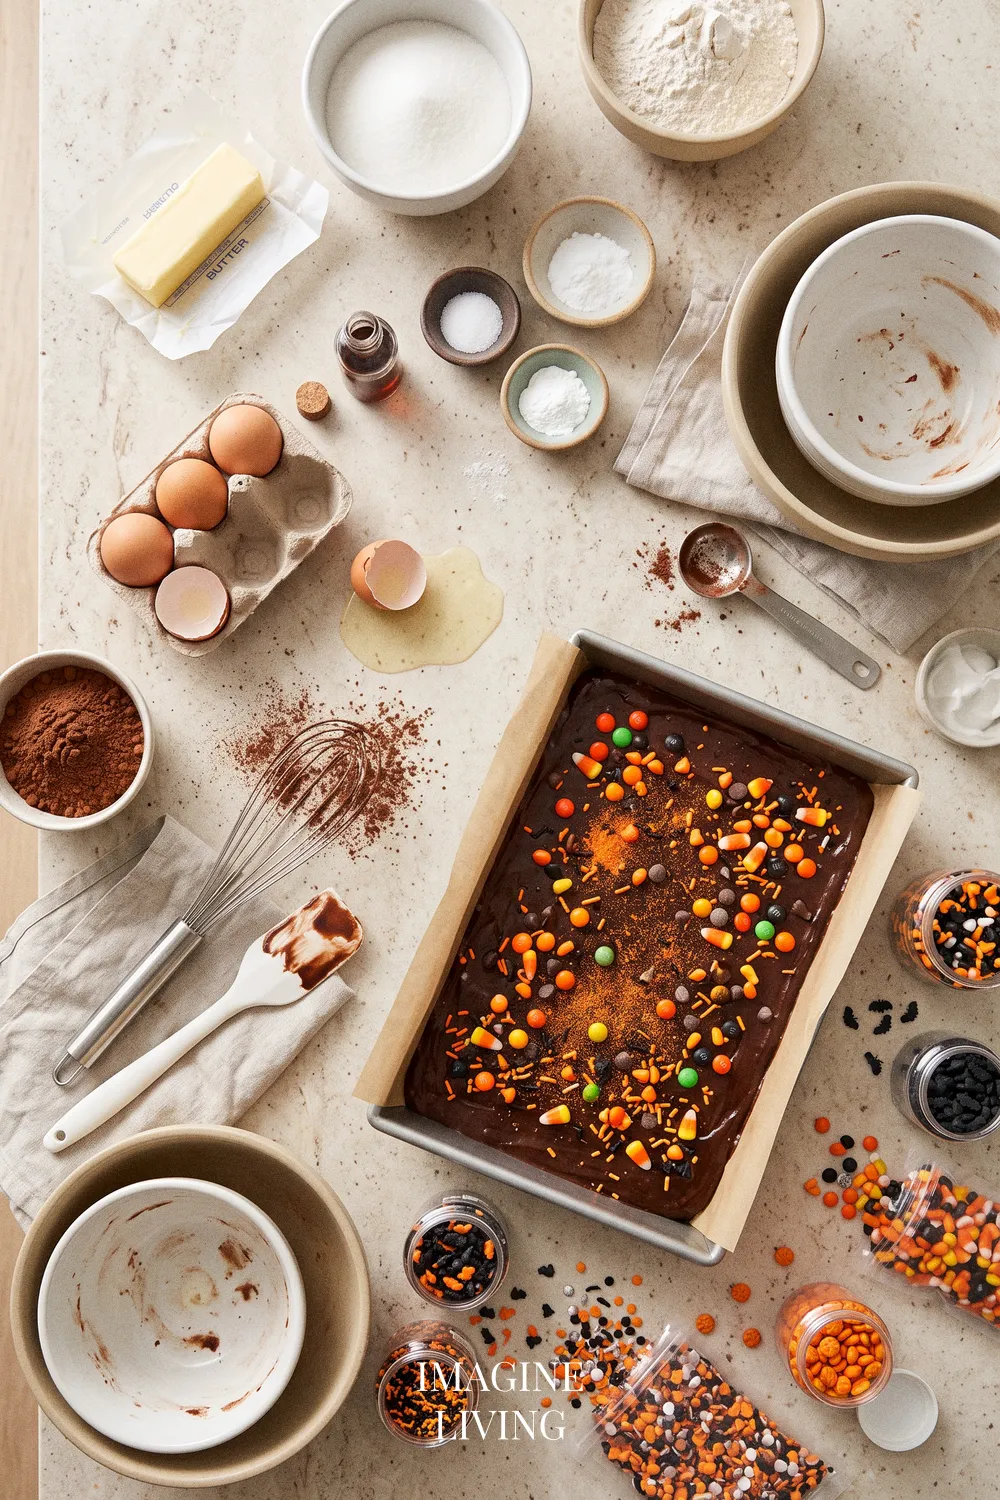
Equipment Needed
- 9×13 inch (23×33 cm) baking pan
- Mixing bowls
- Whisk
- Rubber spatula
- Parchment paper (optional)
- Oven mitts
Step-By-Step Guide: Making Halloween Brownies
A good brownie comes down to heat and timing, but this part is easier than it looks once you settle into the rhythm.
Step 1: Preheat Your Oven
Preheat your oven to 350°F (180°C). This ensures even baking.
Tip: Grease the baking pan or line it with parchment paper for easy removal.
Step 2: Melt the Butter
In a saucepan over medium heat, melt the butter until it’s completely liquid. Remove from heat. A quiet moment here — the warmth always seems to soften the rest of the process too.
Step 3: Mix in the Sugars
Stir in the granulated sugar while the butter is still warm. Mix until combined, then allow it to cool slightly.
Step 4: Add Eggs and Vanilla
Beat in the eggs one at a time, followed by the vanilla extract. The mixture will become glossy and smooth. If it thickens a bit as you go, that’s normal; it settles once the dry ingredients join in.
Step 5: Combine the Dry Ingredients
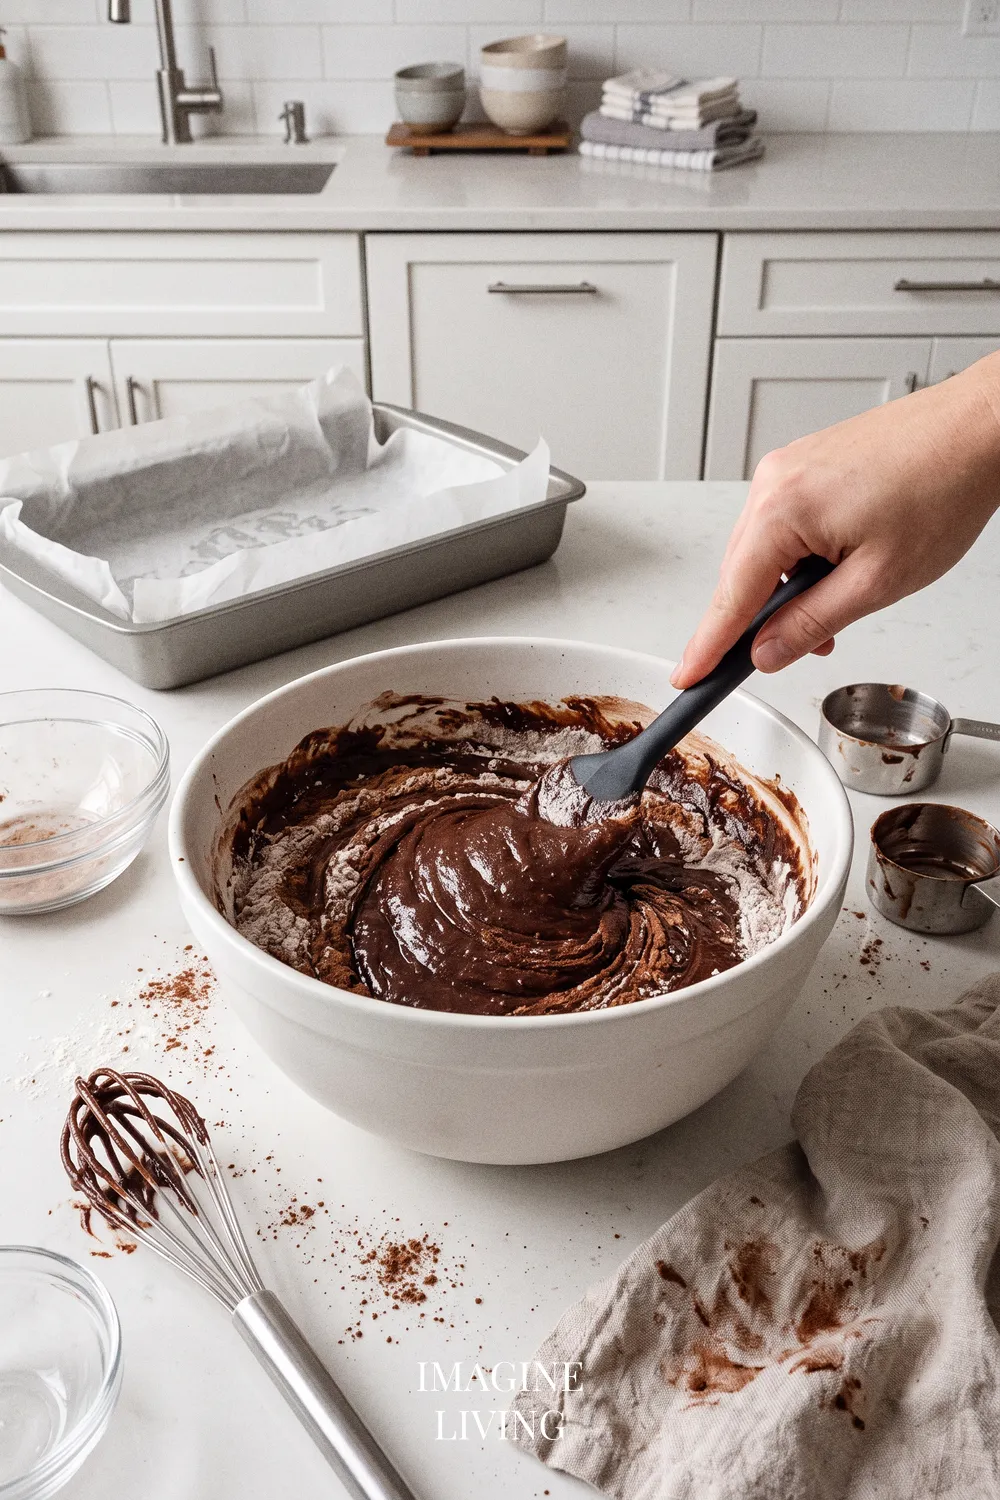
In another bowl, whisk together the flour, cocoa powder, salt, and baking powder. Gradually fold the dry ingredients into the wet mixture using a rubber spatula.
Tip: Do not overmix; a few lumps are okay for fudgy brownies.
Step 6: Bake
Pour the brownie batter into the prepared baking pan and spread it evenly. Bake for 20-25 minutes or until a toothpick inserted comes out with a few moist crumbs.
Step 7: Cool and Decorate
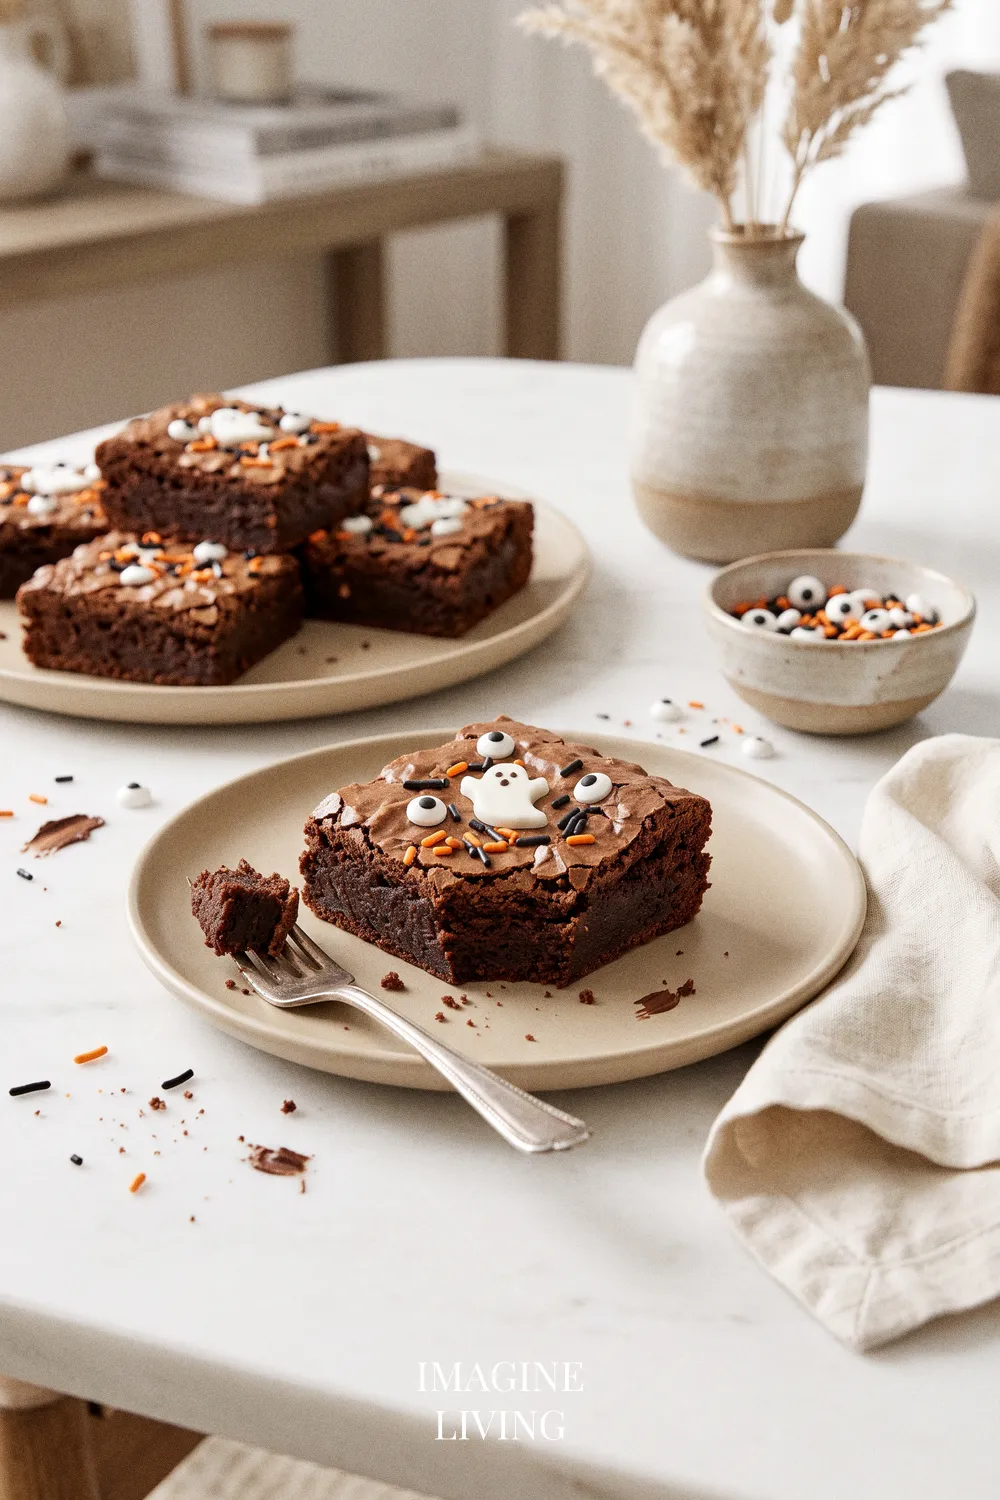
Let the brownies cool in the pan for about 10 minutes before transferring them to a wire rack. Once cooled, cut them into squares and decorate with Halloween candies and sprinkles. The decorations always stick better once the surface loses its warmth — easy to forget in the excitement.
Option note: If using edible glitter, sprinkle it on top after the brownies have cooled.
Pro Tips for Halloween Brownies
Here are a few gentle ways to help your brownies land just right.
- Use high-quality cocoa powder for a richer chocolate flavor.
- For extra fudginess, reduce baking time slightly.
- Feel free to add chocolate chips or nuts for added texture.
- Store leftover brownies in an airtight container for up to 5 days.
- Always let brownies cool completely before cutting to maintain clean edges.
A cool brownie really does slice more neatly than you’d expect.
Dietary Variations & Substitutions
Gluten-Free Version
- Substitute all-purpose flour with a gluten-free baking blend at a 1:1 ratio.
- Ensure the blend contains xanthan gum or add 1/4 tsp per cup of flour for structure.
- Watch baking time, checking for doneness 5 minutes earlier as some blends can bake faster.
Tip: If your gluten-free blend is coarser, pulse it in a blender to achieve a finer texture.
Dairy-Free
- Replace unsalted butter with dairy-free margarine or coconut oil in equal measure.
- Use almond milk or oat milk instead of any dairy milk in equal parts, if adding to toppings.
- Be mindful that the texture may be slightly different, resulting in a lighter crumb.
Tip: Adding a splash of almond extract can enhance the flavor in dairy-free versions.
Egg-Free / Vegan
- Substitute each egg with 1 tbsp of ground flaxseed mixed with 3 tbsp of water, let sit for 5 minutes before using.
- As with dairy-free, swap butter for dairy-free margarine or oil and use a non-dairy milk.
- Expect a denser brownie; bake a few minutes longer to ensure centers are set.
Tip: Adding a tablespoon of vinegar with the milk can help improve texture when baking.
Low-Sugar
- Reduce granulated sugar by 25%, and add an additional 1-2 tbsp of non-dairy milk if the batter feels thick.
- Increase cocoa powder slightly (1-2 tbsp) to retain a rich chocolate flavor while lowering sugar.
Tip: Consider using unsweetened applesauce as a partial sugar substitute for added moisture.
Nut-Free
- Ensure any additional toppings like sprinkles or chocolate chips are certified nut-free to avoid cross-contamination.
- Only use substitutes that are labeled as nut-free (e.g., coconut oil instead of nut butters).
Tip: Always check ingredient labels for hidden nut derivatives to guarantee safety.
High-Protein
- Add 1/2 cup of protein powder (such as whey or plant-based) to the dry ingredients, reducing the flour by 1/2 cup to maintain structure.
- Consider folding in a 1/2 cup of chickpeas pureed for an additional protein boost while keeping moisture.
Tip: Adjust liquid by adding a tablespoon of extra milk to keep batter consistency right.
Creative Variations: Whimsical Brownie Treats
Ghostly Brownies
Top with white frosting and mini chocolate chips for eyes.
Tip: Use a piping bag for a ghostly look.
Pumpkin Patch Brownies
Add orange frosting swirls and edible pumpkins on top.
Tip: Use a toothpick to create pumpkin vine designs.
Spiderweb Brownies
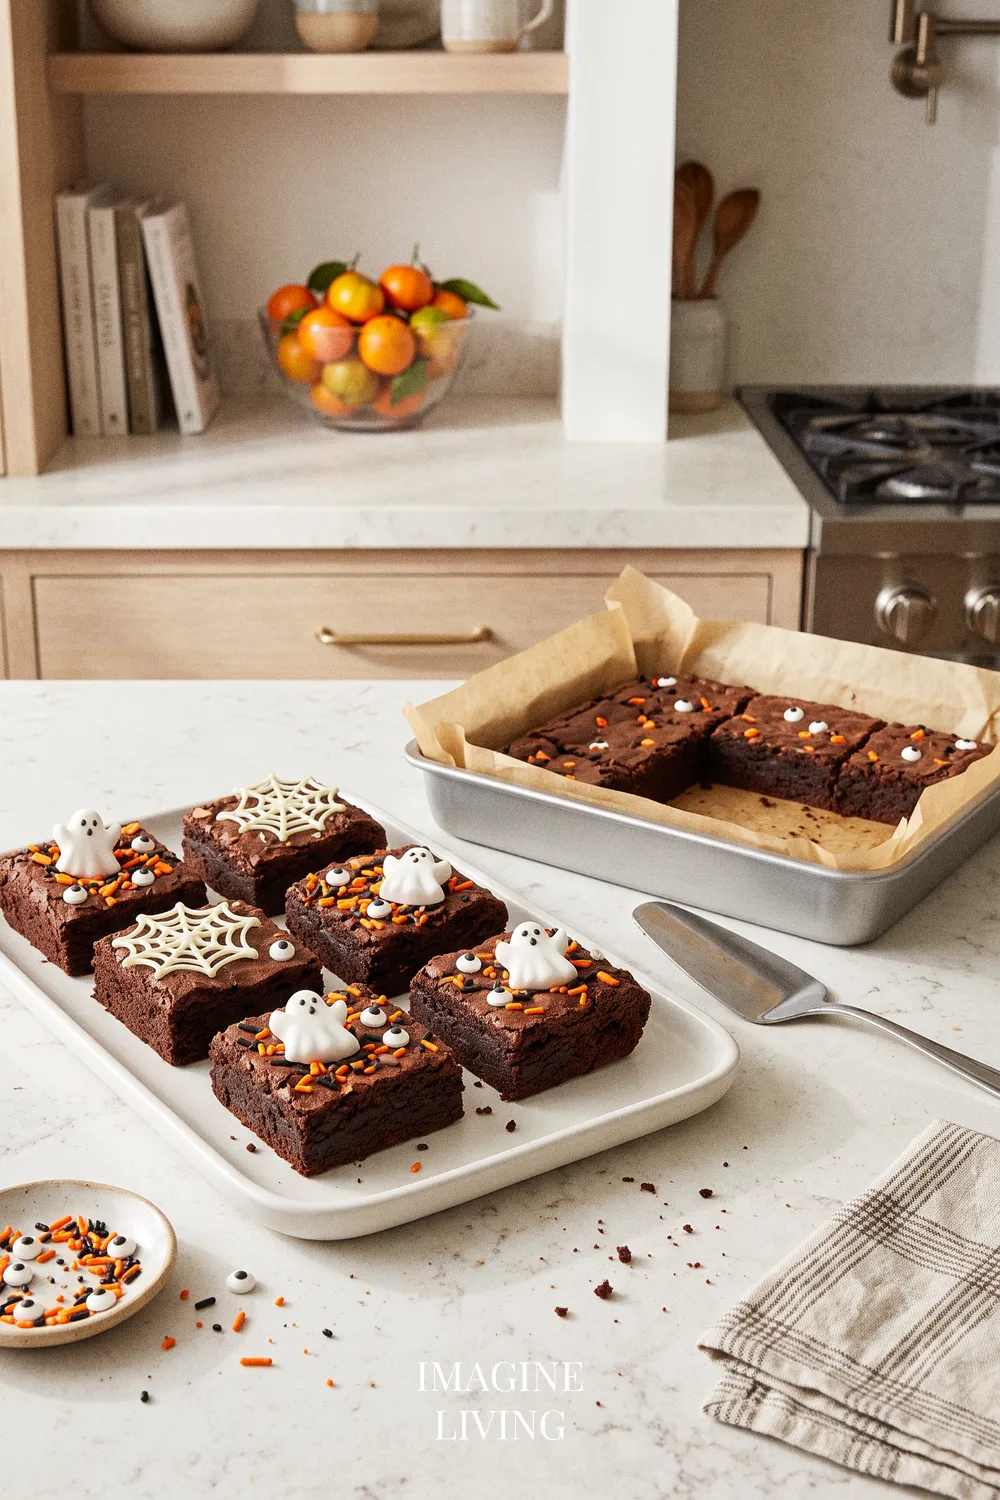
Drizzle melted white chocolate in a spiderweb pattern.
Tip: Create a spider out of licorice and a chocolate candy.
Monster Brownies
Use colorful frosting and candy eyes for a fun monster effect.
Tip: Mix various candies to let kids create their monsters.
Witch’s Cauldron Brownies
Drizzle dark green caramel syrup for a bubbling effect.
Tip: Add gummy frogs or insects for extra fright.
Serving Suggestions
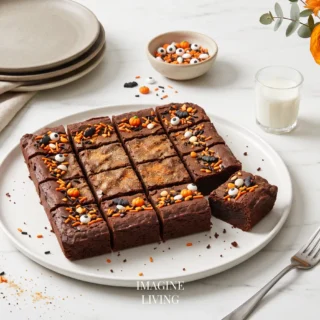
Serve these brownies on a festive Halloween platter surrounded by Halloween-themed décor. Pair them with a scoop of vanilla ice cream drizzled with chocolate sauce for an indulgent dessert.
Storage and Reheating
Store brownies in an airtight container at room temperature for up to 5 days. If you prefer them warm, gently reheat them in the microwave for about 10 seconds.
Common Mistakes to Avoid
A few small slips can change the texture, but each one has an easy fix.
Overmixing
Overmixing can lead to tough brownies. Mix just until combined.
Underbaking
Check them a few minutes before the time stated; every oven is different. A slightly soft center often firms up as it cools.
Skipping the Cooling Time
Letting them cool completely helps maintain texture, so resist the urge to cut too soon.
Not Using Quality Ingredients
Using high-quality chocolate and cocoa makes a world of difference in flavor, even if everything else stays simple.
Ignoring the Oven Temperature
Make sure your oven is fully preheated to avoid uneven baking.
FAQs
Can I freeze Halloween brownies?
Yes, you can freeze brownies for up to three months. Wrap them tightly in plastic wrap and store in an airtight container.
How can I make these brownies gluten-free?
Substitute all-purpose flour with a gluten-free blend; ensure it has a good binding agent.
Can I use cocoa powder instead of chocolate?
Yes, using cocoa powder is a great alternative, and it enhances the chocolate flavor.
What’s the best way to cut brownies?
Use a sharp knife, cleaning it between cuts for neat edges.
Why did my brownies turn out cakey?
Cakey brownies usually arise from overmixing or baking too long; aim for that fudgy consistency.
Celebrate with Delicious Halloween Brownies
Once these brownies are cooled, decorated, and ready to set out, they bring an easy kind of fun to the table. No need for fuss — just a rich, chocolatey treat that fits right into the spirit of the season.
Spooktacular Halloween Brownies
Equipment
- 9x13-inch baking pan
- Mixing bowls
- Whisk
- Rubber spatula
- Parchment paper optional
- Oven mitts
Ingredients
For the Brownies
- 1 cup unsalted butter 225g
- 2 cups granulated sugar 400g
- 4 large eggs
- 1 teaspoon vanilla extract
- 1 cup all-purpose flour 125g
- 1 cup unsweetened cocoa powder 90g
- 1/2 teaspoon salt
- 1/2 teaspoon baking powder
For the Toppings
- Halloween-themed candies such as gummy worms or candy eyeballs
- Sprinkles orange and black
- Edible glitter optional
Instructions
Step 1: Preheat Your Oven
- Preheat your oven to 350°F (180°C). This step is crucial; a properly preheated oven ensures even baking.
- Tip: Grease the baking pan or line it with parchment paper for easy removal.
Step 2: Melt the Butter
- In a saucepan over medium heat, melt the butter until it’s completely liquid. Remove from heat.
Step 3: Mix in the Sugars
- Stir in the granulated sugar while the butter is still warm. Mix until combined, then allow it to cool slightly.
Step 4: Add Eggs and Vanilla
- Beat in the eggs one at a time, followed by the vanilla extract. The mixture will become glossy and smooth.
Step 5: Combine the Dry Ingredients
- In another bowl, whisk together the flour, cocoa powder, salt, and baking powder. Gradually fold the dry ingredients into the wet mixture using a rubber spatula.
- Tip: Do not overmix; a few lumps are okay for fudgy brownies.
Step 6: Bake
- Pour the brownie batter into the prepared baking pan and spread it evenly. Bake for 20-25 minutes or until a toothpick inserted comes out with a few moist crumbs.
Step 7: Cool and Decorate
- Let the brownies cool in the pan for about 10 minutes before transferring them to a wire rack. Once cooled, cut them into squares and decorate with Halloween candies and sprinkles.
Notes
- Use high-quality cocoa powder for a richer chocolate flavor.
- For extra fudginess, reduce baking time slightly.
- Feel free to add chocolate chips or nuts for added texture.
- Store leftover brownies in an airtight container for up to 5 days.
- Always let brownies cool completely before cutting to maintain clean edges.