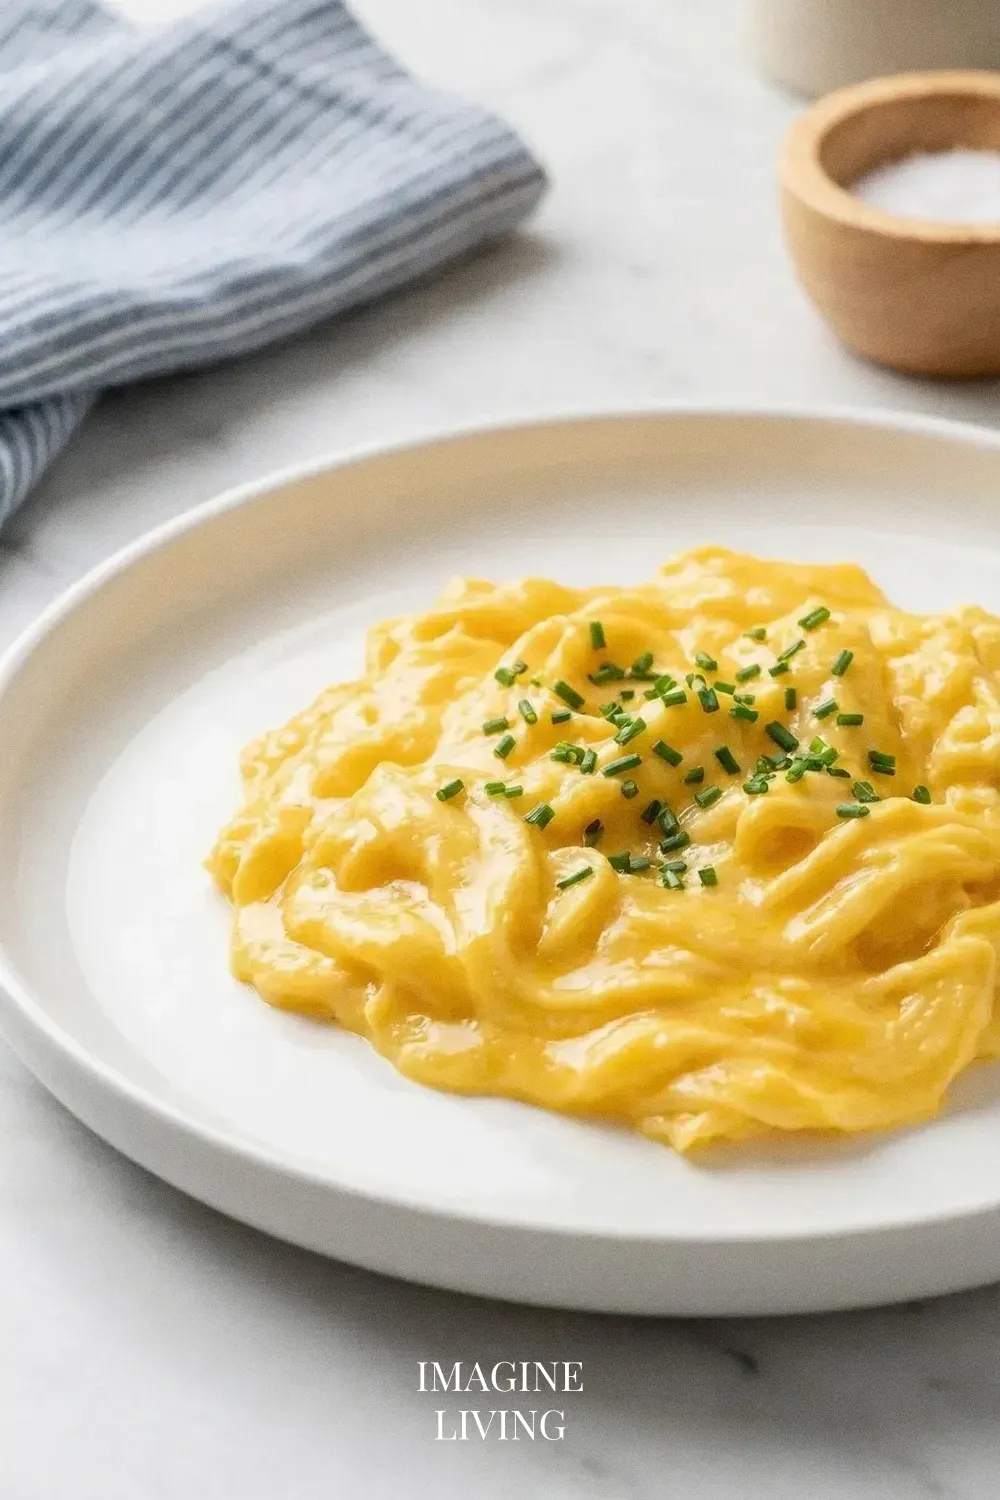
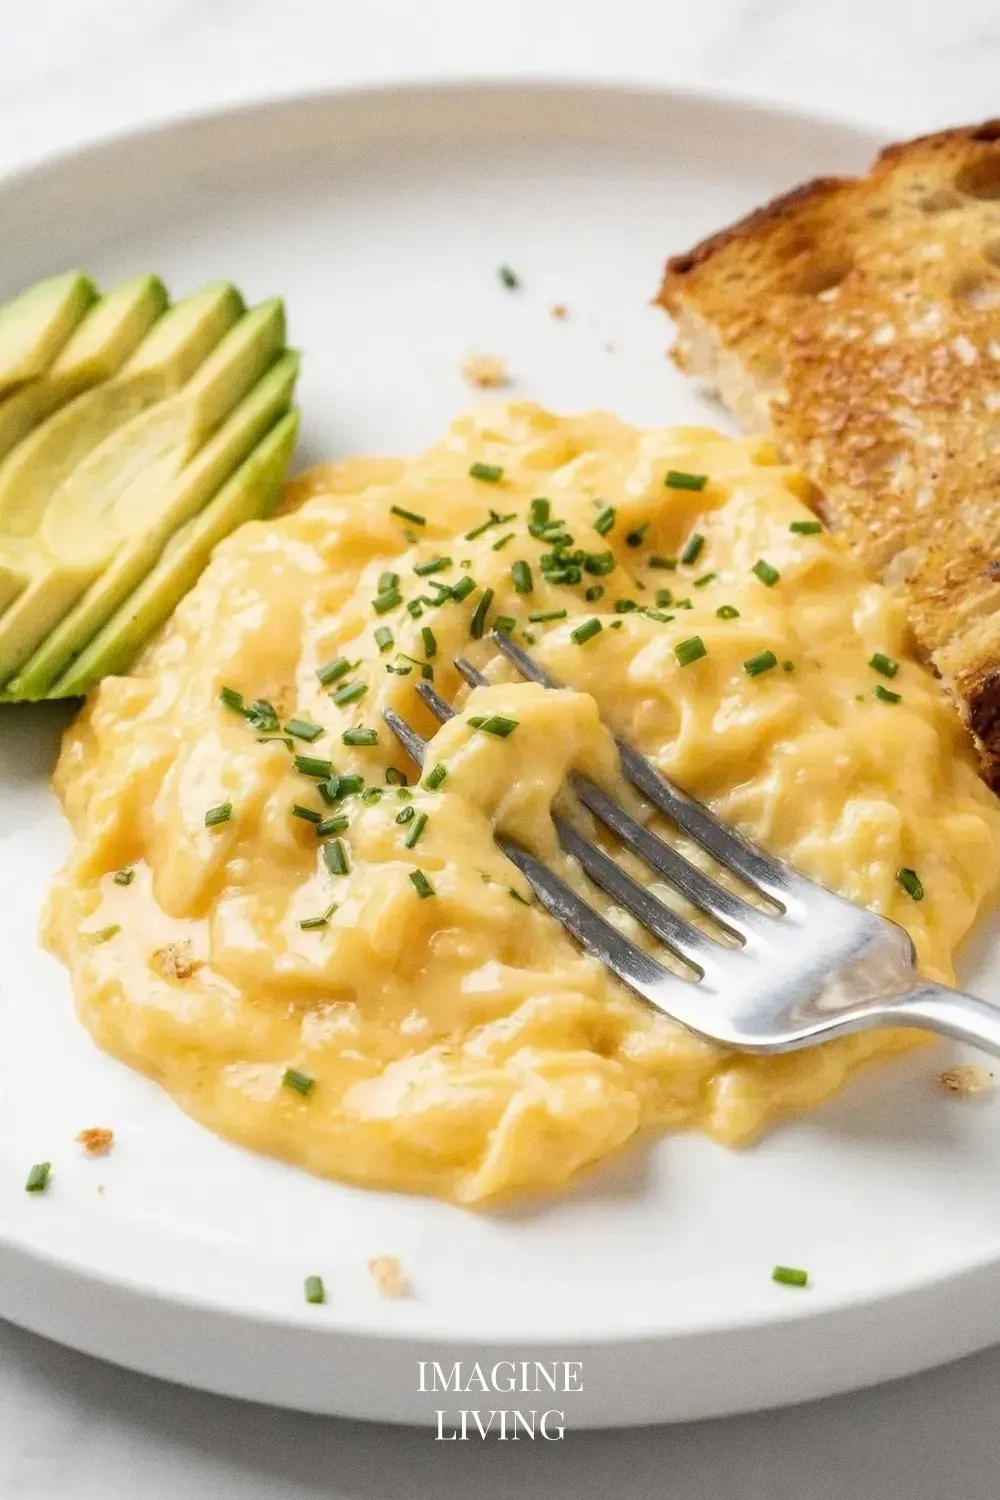
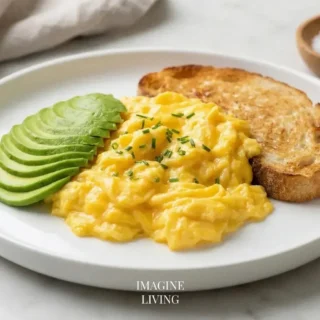
Silky Scrambled Eggs
A pan of eggs softening over low heat has its own quiet comfort, especially when the butter starts to melt and gives off that warm, creamy scent. I always pause for a second here — it’s a small moment, but it settles me in. These eggs come together gently, and you’ll find they’re far easier to master than they look, even if you’re still waking up. And if a tiny bit of mischief shows up in the form of a wobbly swirl of yolk, well, that’s part of the charm.
Why You’ll Love This Recipe
These silky scrambled eggs turn a simple morning into something a little softer and more enjoyable. Here’s why they stand out:
- Smooth Texture: The secret lies in the meticulous mixing and gentle cooking method.
- Rich Flavor: High-quality butter enhances the overall taste and elevates the dish.
- Quick to Prepare: In under ten minutes, you can whip up a luxurious meal.
- Versatility: Enjoy them on their own or dressed up with your favorite toppings.
“The kind of scrambled eggs that feel like a luxury breakfast.” Imagine Living
Ingredients: Silky Scrambled Eggs
Servings: 2
- 4 large eggs (about 240g)
- 2 tablespoons very good butter (preferably unsalted)
- Salt, to taste
- Freshly cracked black pepper, to taste
Options: For a dairy-free alternative, use olive oil or coconut oil instead of butter.

Equipment Needed
- Non-stick skillet
- Mixing bowl
- Whisk or fork
- Spatula
Step-By-Step Guide: Silky Scrambled Eggs
A low flame and a bit of patience are the only real hurdles here — and both are surprisingly manageable once you settle into the rhythm.
Step 1: Prepare the Eggs
Start by cracking the eggs into a mixing bowl. Use a whisk or a fork to beat them gently until just blended. Aim for a cohesive mixture, but don’t overwhisk; you want some texture.
Tip: Incorporate a pinch of salt while whisking to enhance flavor throughout.
— The mixture should look smooth but not too eager, if that makes sense.
Step 2: Heat the Pan
Place your non-stick skillet over low heat, then add the very good butter. Allow it to melt slowly without browning, creating a luxurious base for the eggs.
Tip: Patience is key; cooking on low heat ensures the eggs stay silky rather than becoming rubbery.
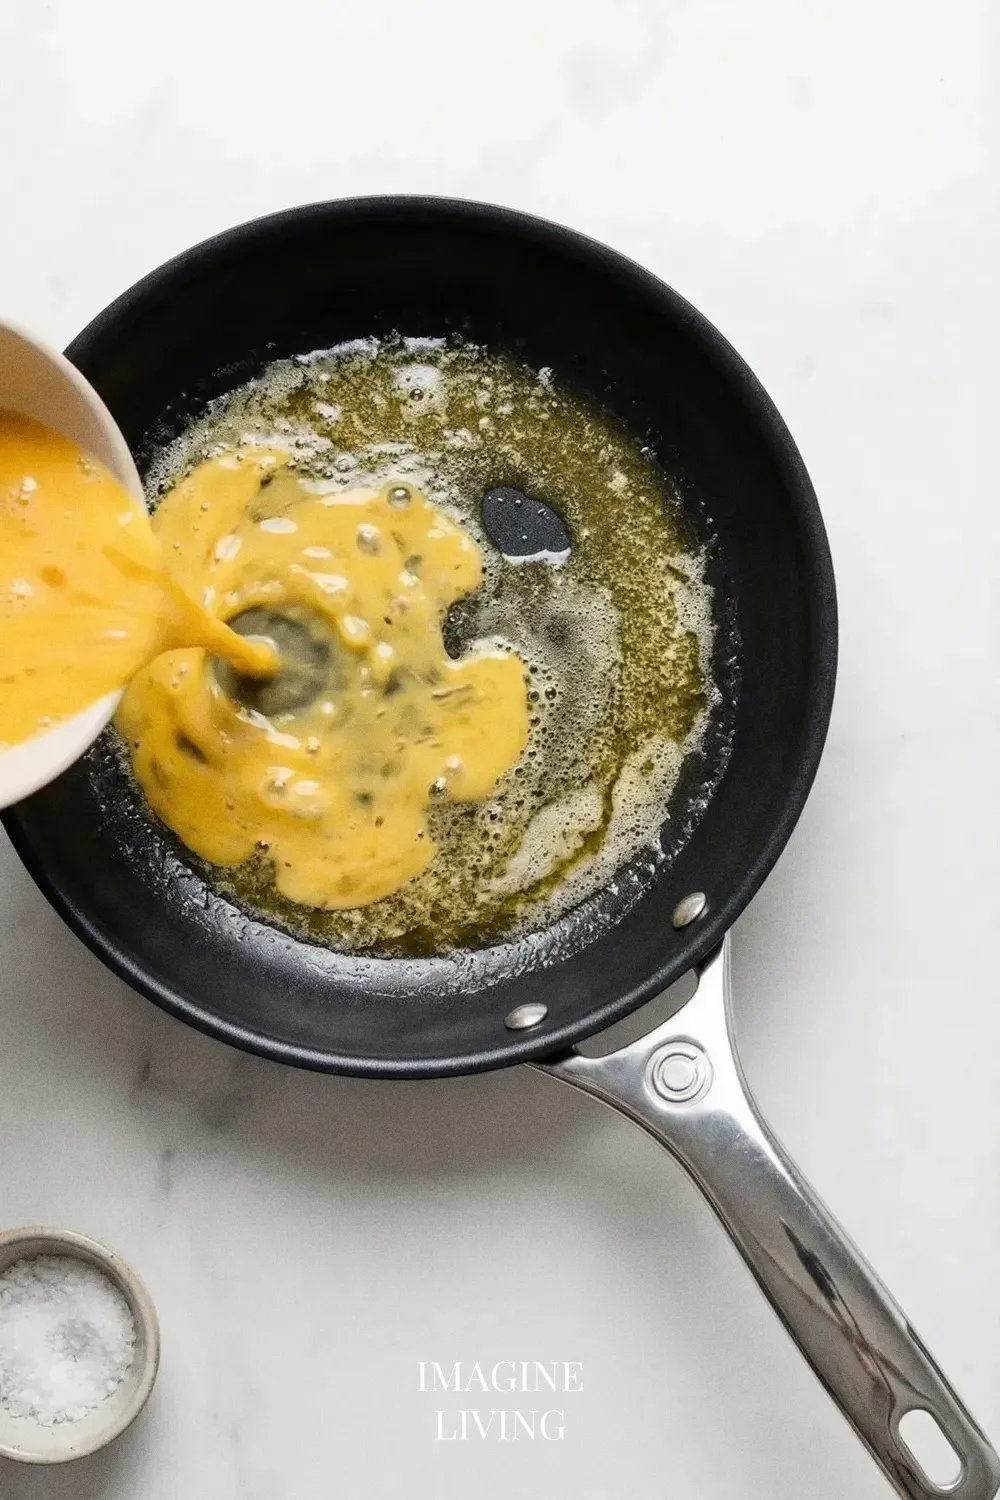
Step 3: Pour in the Eggs
Once the butter has melted, pour the beaten eggs into the skillet. Let them cook undisturbed for a few moments, simply taking in the aroma.
— There’s always that instant where nothing seems to happen, then suddenly the edges whisper their way into setting.
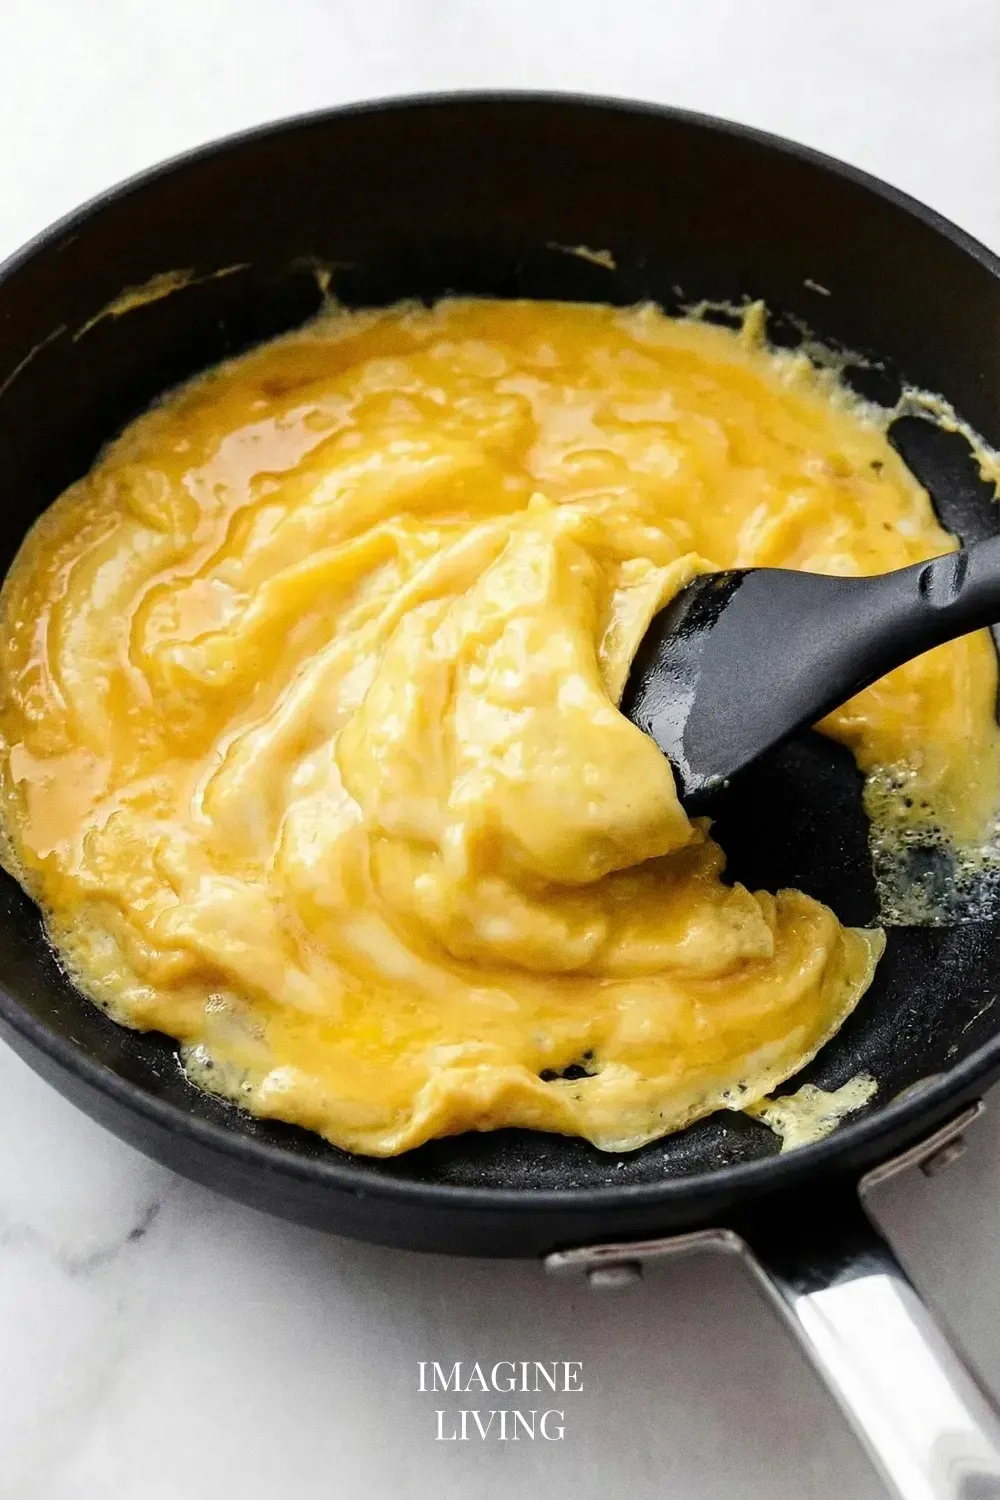
Step 4: Stir Gently
As the edges start to set, gently stir the eggs with a spatula, folding the mixture toward the center. Continue this process, ensuring not to rush; the goal is a soft, creamy finish.
Tip: Keep the eggs moving slowly, allowing for a gradual transformation without overcooking.
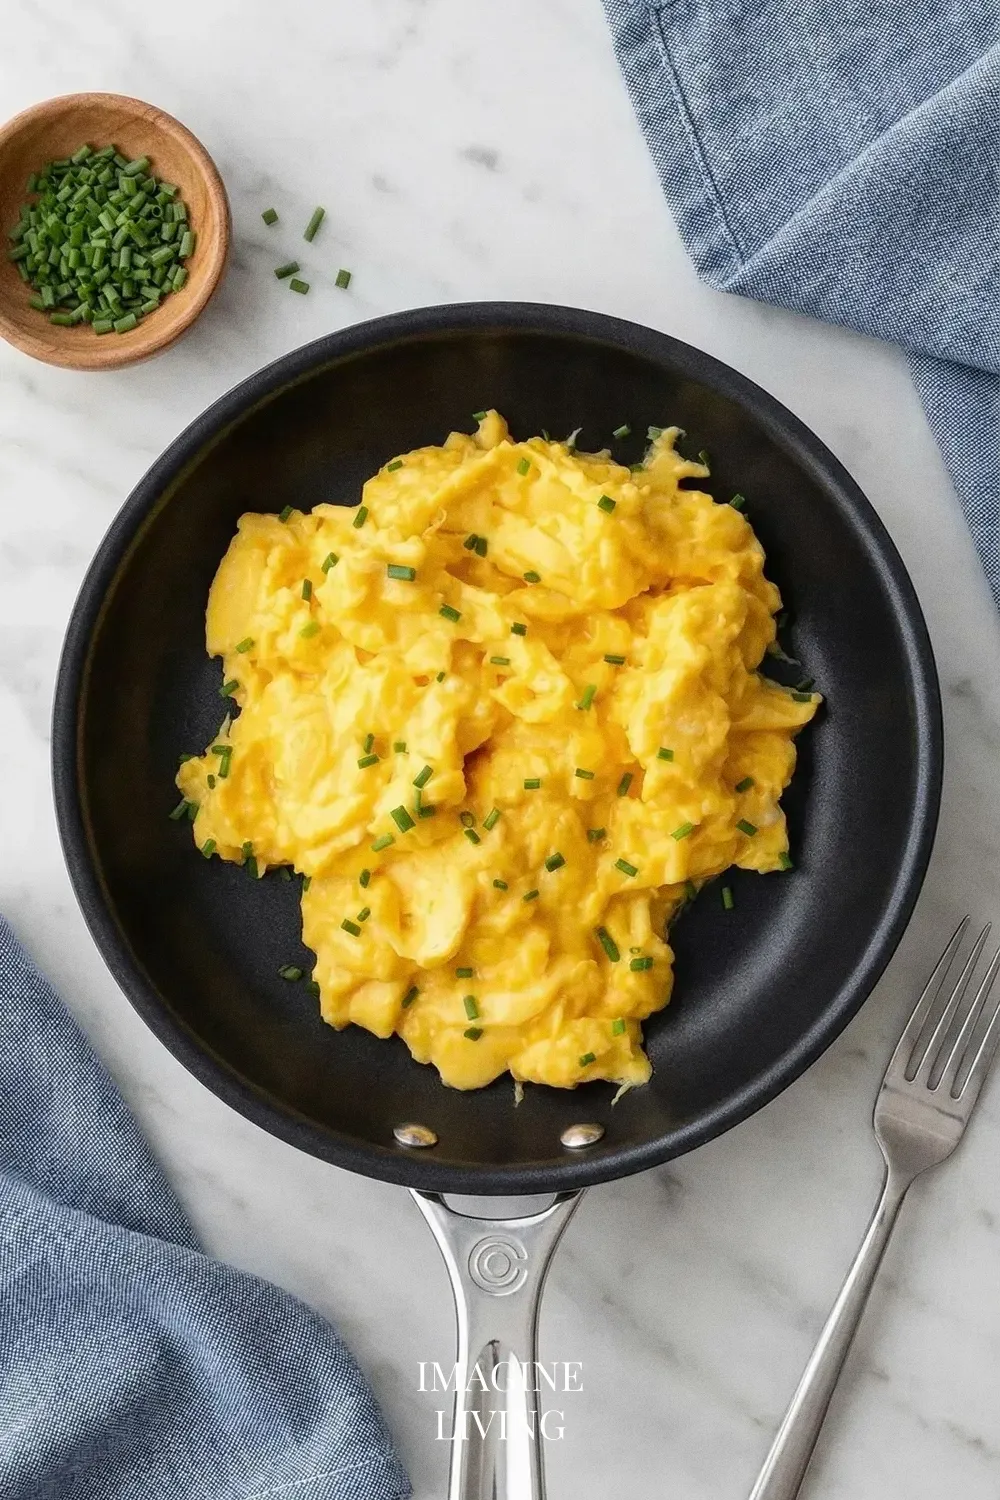
Step 5: Finish and Serve
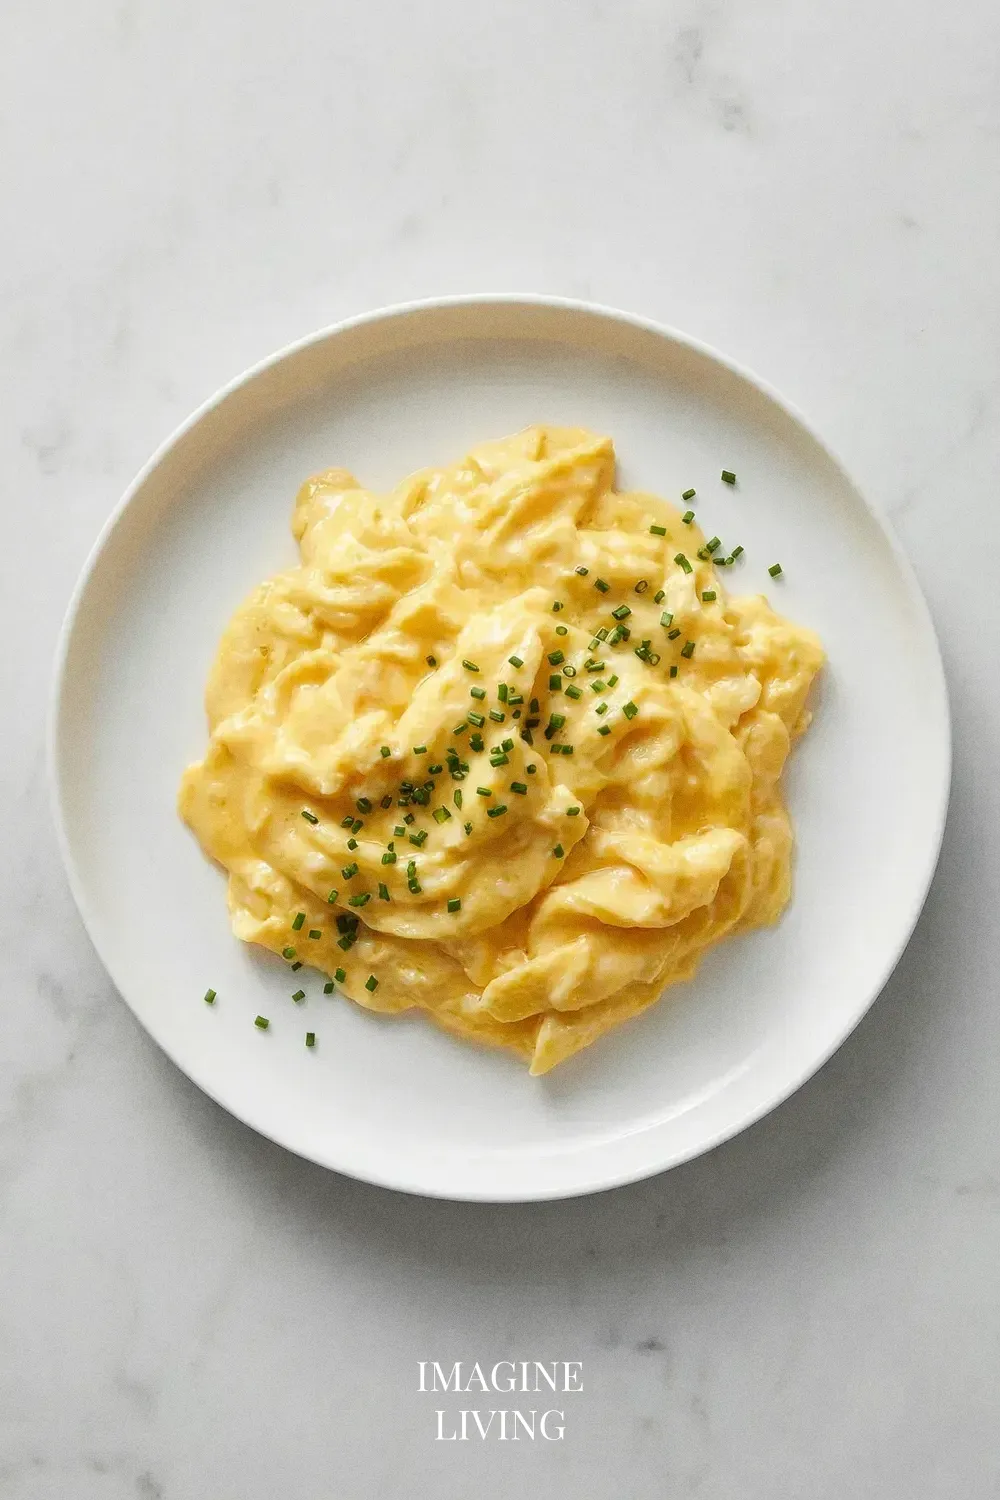
When the eggs are just soft and barely runny, remove them from the heat. The residual heat will finish cooking. Season with freshly cracked black pepper, and enjoy immediately for the best texture.
— They usually firm up just a touch more than expected after leaving the pan, so pulling them early feels oddly brave but always pays off.
Pro Tips for Silky Scrambled Eggs
A few small habits make these feel effortless over time.
- Use the freshest eggs possible for the best flavor and texture.
- Don’t skip on the butter; using good quality butter makes a delicious difference.
- Experiment with low and slow cooking to find your preferred consistency.
- Always remove the pan from the heat just before the eggs are fully cooked for perfect creaminess.
— And if they look slightly too soft, that’s usually perfect.
Dietary Variations & Substitutions
Dairy-Free Version
- Replace butter with an equal amount of olive oil or coconut oil for a creamy consistency.
- Expect a slightly different flavor profile; adjust seasoning to taste.
Tip: Use a non-stick skillet to prevent sticking without dairy.
Egg-Free / Vegan
- Substitute each egg with 1/4 cup of silken tofu or 1 tbsp of nutritional yeast mixed with 3 tbsp of water for a creamy texture.
- Cook over low heat to imitate the gentle setting of eggs.
Tip: Add a splash of non-dairy milk to enhance creaminess.
Gluten-Free Version
- This recipe is naturally gluten-free; just ensure any accompanying ingredients or toppings are also gluten-free.
- No adjustments needed for cooking time or temperature.
Tip: Check labels for any processed toppings to avoid hidden gluten.
High-Protein Version
- Incorporate 2 tablespoons of cottage cheese or Greek yogurt into the beaten eggs for added protein.
- Stir gently to combine before pouring into the skillet.
Tip: Add a sprinkle of your favorite protein powder into the egg mixture for an extra boost.
Low-Sugar Version
- This recipe naturally contains no added sugars; simply omit any sweet toppings.
- Enhance flavor with herbs and spices instead of sugary elements.
Tip: Use a squeeze of lemon to brighten flavors without adding sweetness.
Creative Variations: Silky Scrambled Eggs Inspirations
Herbed Delight
Add fresh herbs like chives or parsley for a refreshing pop.
Tip: Cut herbs finely to release their essential oils and flavor.
Cheesy Indulgence
Mix in your favorite cheese (like feta or cheddar) for a melty finish.
Tip: Allow the cheese to melt gently while stirring in the eggs.
Spiced Kick
Incorporate a pinch of paprika or cayenne for a subtle heat boost.
Tip: Adjust the spice level to suit your personal taste buds.
Veggie Boost
Toss in sautéed spinach or tomatoes for a nutritious upgrade.
Tip: Make sure the veggies are well-drained so they don’t add extra moisture.
Smoked Salmon Elegance
Top your eggs with quality smoked salmon for a brunch-ready plate.
Tip: Pair with capers and a squeeze of lemon for added brightness.
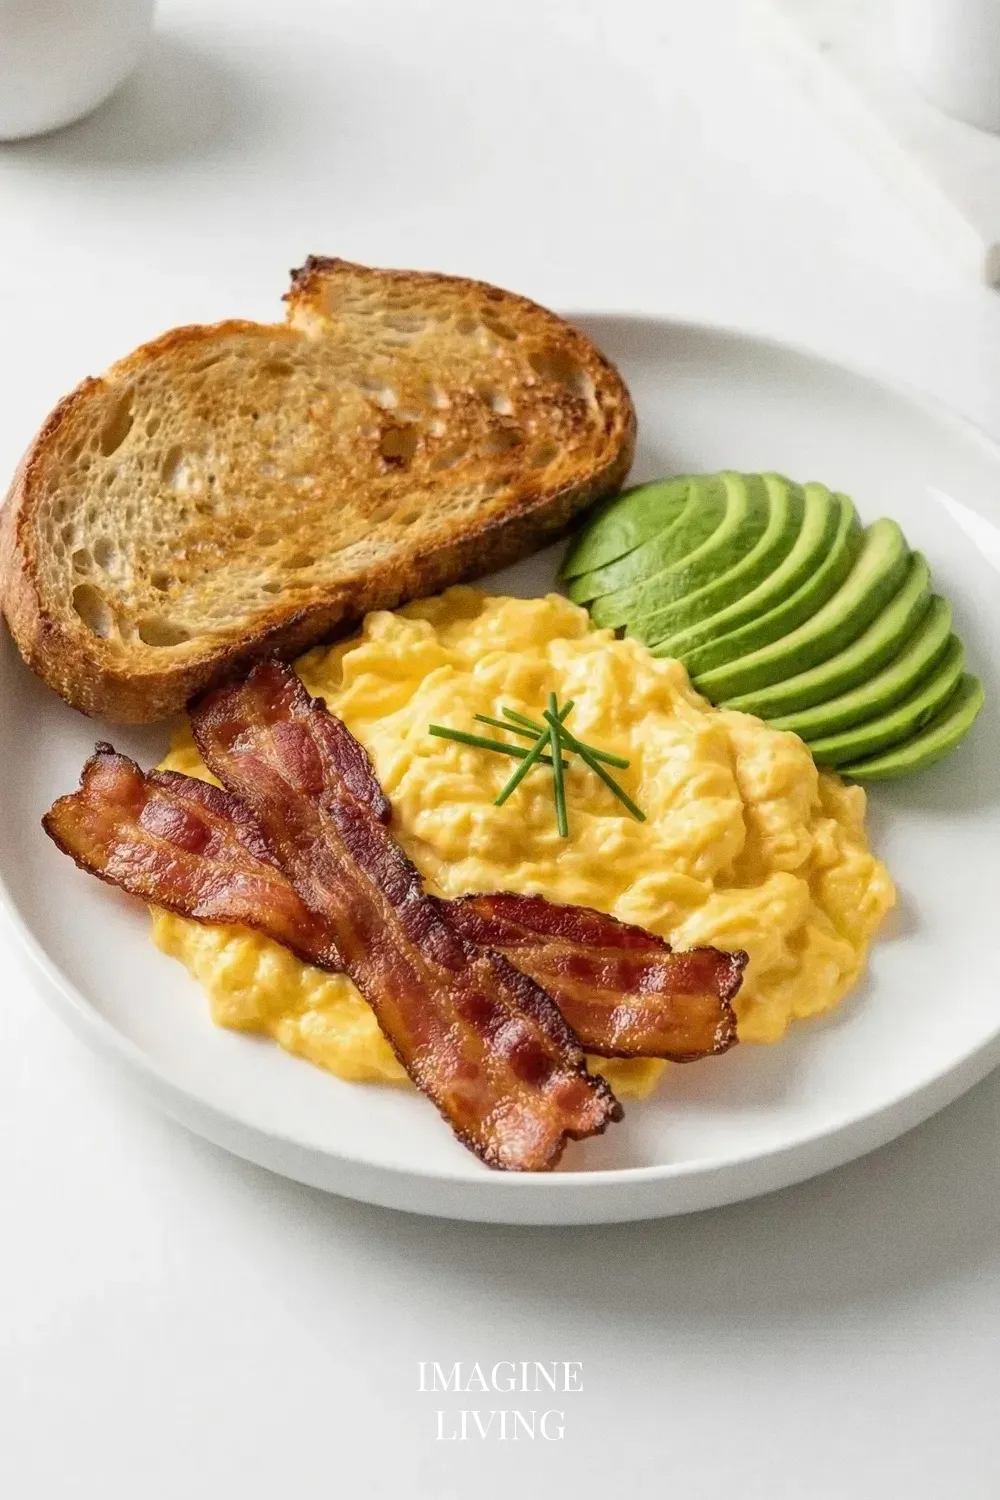
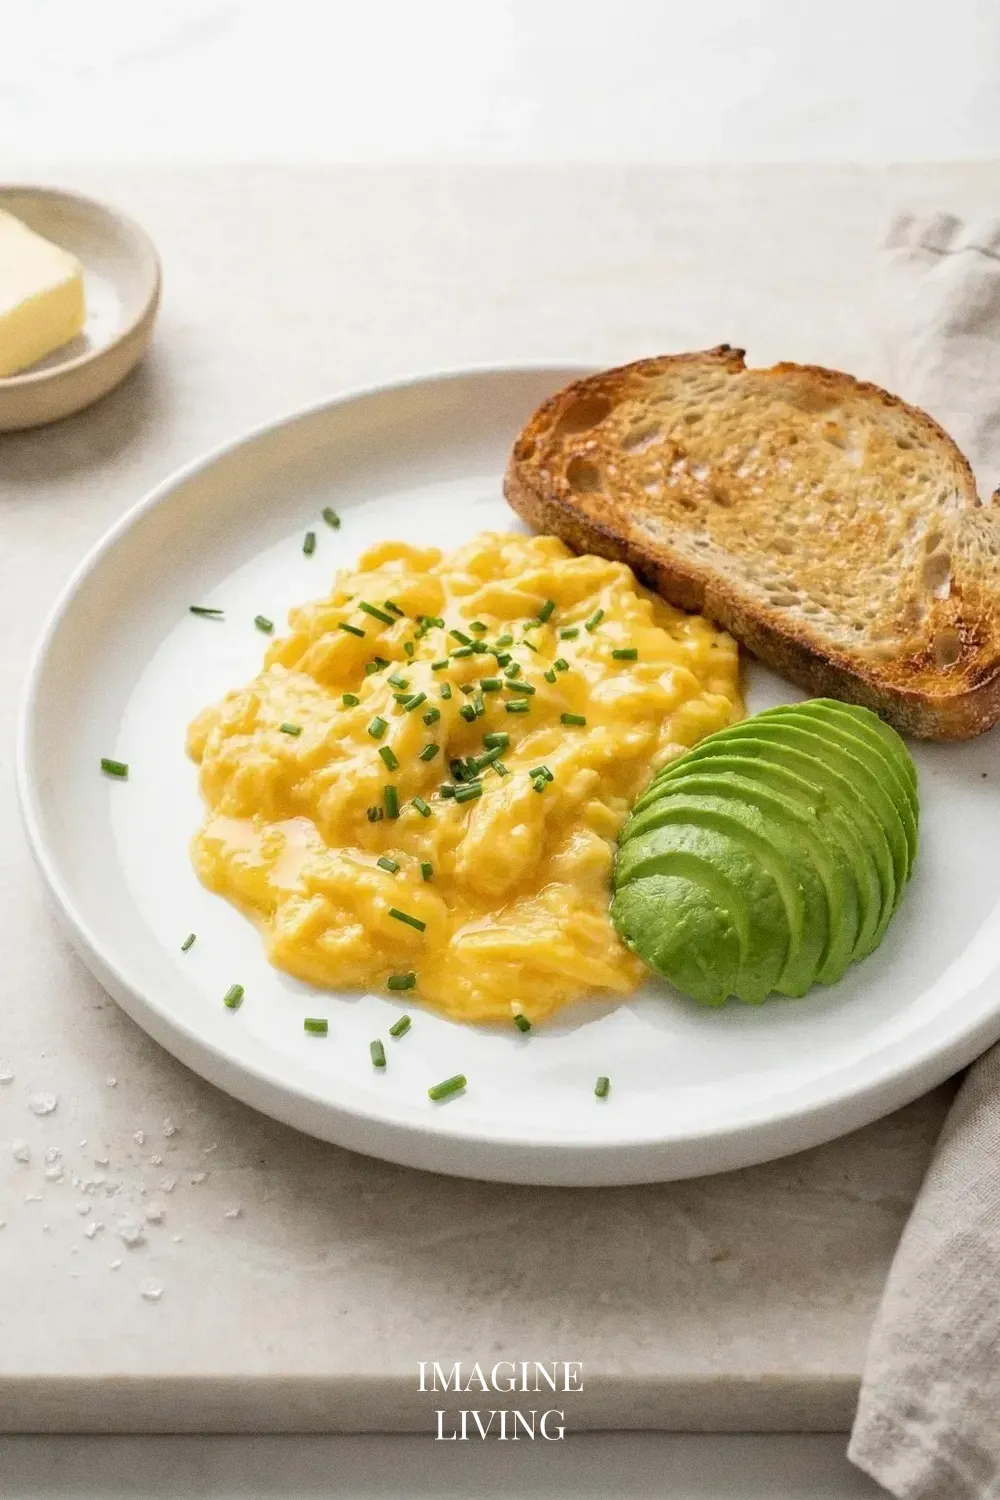
Serving Suggestions
These eggs shine best on freshly buttered toast or a crisp English muffin. Add a slice of avocado or a handful of mixed greens to create a balanced meal. Pair with coffee or fresh juice for a satisfying breakfast spread.
Storage and Reheating
Silky scrambled eggs are best enjoyed fresh, as they can lose their texture when stored. If you must save leftovers, place them in an airtight container in the refrigerator for up to one day. To reheat, use low heat on a skillet with a little butter, stirring gently until warmed through.
Common Mistakes to Avoid
A few missteps are common, but none are deal-breakers.
Cooking on High Heat
This can lead to rubbery eggs instead of the desired silkiness. Lower heat brings the calm back.
Tip: Always choose low and slow for creamy results.
Overcooking the Eggs
Silky scrambled eggs should be slightly runny when removed from the heat. They’ll keep cooking on their own.
Not Using Enough Butter
Insufficient fat can lead to a dry texture. A bit more butter than expected often makes things right.
Overmixing Before Cooking
Whisk gently to avoid incorporating too much air. It’s easy to get carried away, so pausing helps.
Failing to Season Early
Add a pinch of salt while whisking for better flavor distribution. It settles into the eggs more evenly this way.
FAQs
Can I make scrambled eggs ahead of time?
While it’s best to serve them fresh, you can store them in the fridge for a day, but the texture may change.
What type of butter is best for scrambled eggs?
Opt for very good quality unsalted butter to avoid over-salting and enhance flavor.
How can I achieve fluffier eggs?
Be gentle while mixing and cook at low temperature to retain moisture.
Can I use dairy alternatives for creaminess?
Yes! Cream, half-and-half, or even a splash of almond milk can be added for extra richness.
What can I pair with these eggs?
Tasteful additions like fresh herbs, sautéed vegetables, or crispy bacon complement them beautifully.
A Moment of Creamy Delight
There’s something grounding about standing over the stove for just a few minutes and ending up with something this comforting. These eggs don’t demand much — just a bit of attention — and they reward you with a warm, soft start to the day. Enjoy them while they’re still gently steaming on the plate.
Silky Scrambled Eggs
Equipment
- Non-stick skillet
- Mixing bowl
- Whisk or fork
- Spatula
Ingredients
Silky Scrambled Eggs
- 4 large eggs about 240g
- 2 tablespoons very good butter preferably unsalted
- Salt to taste
- Freshly cracked black pepper to taste
Instructions
Step 1: Prepare the Eggs
- Start by cracking the eggs into a mixing bowl. Use a whisk or a fork to beat them gently until just blended. Aim for a cohesive mixture, but don’t overwhisk; you want some texture.
- Tip: Incorporate a pinch of salt while whisking to enhance flavor throughout.
Step 2: Heat the Pan
- Place your non-stick skillet over low heat, then add the very good butter. Allow it to melt slowly without browning, creating a luxurious base for the eggs.
- Tip: Patience is key; cooking on low heat ensures the eggs stay silky rather than becoming rubbery.
Step 3: Pour in the Eggs
- Once the butter has melted, pour the beaten eggs into the skillet. Let them cook undisturbed for a few moments, simply taking in the aroma.
Step 4: Stir Gently
- As the edges start to set, gently stir the eggs with a spatula, folding the mixture toward the center. Continue this process, ensuring not to rush; the goal is a soft, creamy finish.
- Tip: Keep the eggs moving slowly, allowing for a gradual transformation without overcooking.
Step 5: Finish and Serve
- When the eggs are just soft and barely runny, remove them from the heat. The residual heat will finish cooking. Season with freshly cracked black pepper, and enjoy immediately for the best texture.
Notes
- Use the freshest eggs possible for the best flavor and texture.
- Don’t skip on the butter; using good quality butter makes a delicious difference.
- Experiment with low and slow cooking to find your preferred consistency.
- Always remove the pan from the heat just before the eggs are fully cooked for perfect creaminess.